Showing posts with label candy. Show all posts

Tuesday, September 18, 2012

Nutella Fudge with Sea Salt

Hello friends!

With being back at school, work, running two blogs and the baking club, I find myself more and more intrigued by simply prepared yet superbly delicious recipes. Though this could be in part due to the Brownie Banana Bread Cupcake Blunder of last week (I have mentioned I have a fragile ego have I not?).

So today I am happy to share with you this gem of a recipe from CookinCanuck for Nutella Fudge with Sea Salt.


Fudge is one of those wonderful treats that sounds like it's too much work when in reality you can have the whole batch done and in the fridge in less than twenty minutes. It's a crowd-pleaser every time and you get the satisfaction of hearing everyone go "mmmm" while mentally patting yourself on the back for a job well done with minimal effort and time.

First trick though that is crucial to successful, stress-free fudge: lining your pan with parchment paper. The key is to have the paper longer than the pan, so that after you pour the fudge in and let it cool, you can easily grab the excess paper to lift the fudge out of the pan in one piece.

One of the best bits of knowledge ever that I picked up while roaming through fudge recipes online.


And here's your main lineup for the fudge. Note that I don't have the actual "Nutella-brand" Nutella. The ShopRite brand tastes exactly like it and is half the price. College Savings FTW. Now take these plus a tad bit of butter...


and melt 'em all down in a big pot. Technically you should use a double boiler system, but that would take away the whole minimal-effort deal I am trying to achieve here. If you have a double boiler, then super. If not, no worries.

Keep the heat low and stir the mixture constantly so that the chocolate doesn't burn. It doesn't take very long for everything to melt anyway, so if you keep it low and slow, you should be good. I did it this way and my fudge came out fabulous.


Once you pour it into your pan, wait a minute or two before sprinkling on your sea salt. I found that some of it melts if you apply it too soon, and though it still tastes great, it won't look quite as neat if all your salt melts into the chocolate.

Then into the fridge it goes for 2-3 hours, or overnight if you are want to do this the night before a party or event.


See? Parchment paper is a god-send in these situations. I like clean, straight edges on my fudge (I'm a little type-A I know) and it makes it so much easier to cut when you haven't spent the last half hour fighting to get it out of the pan.

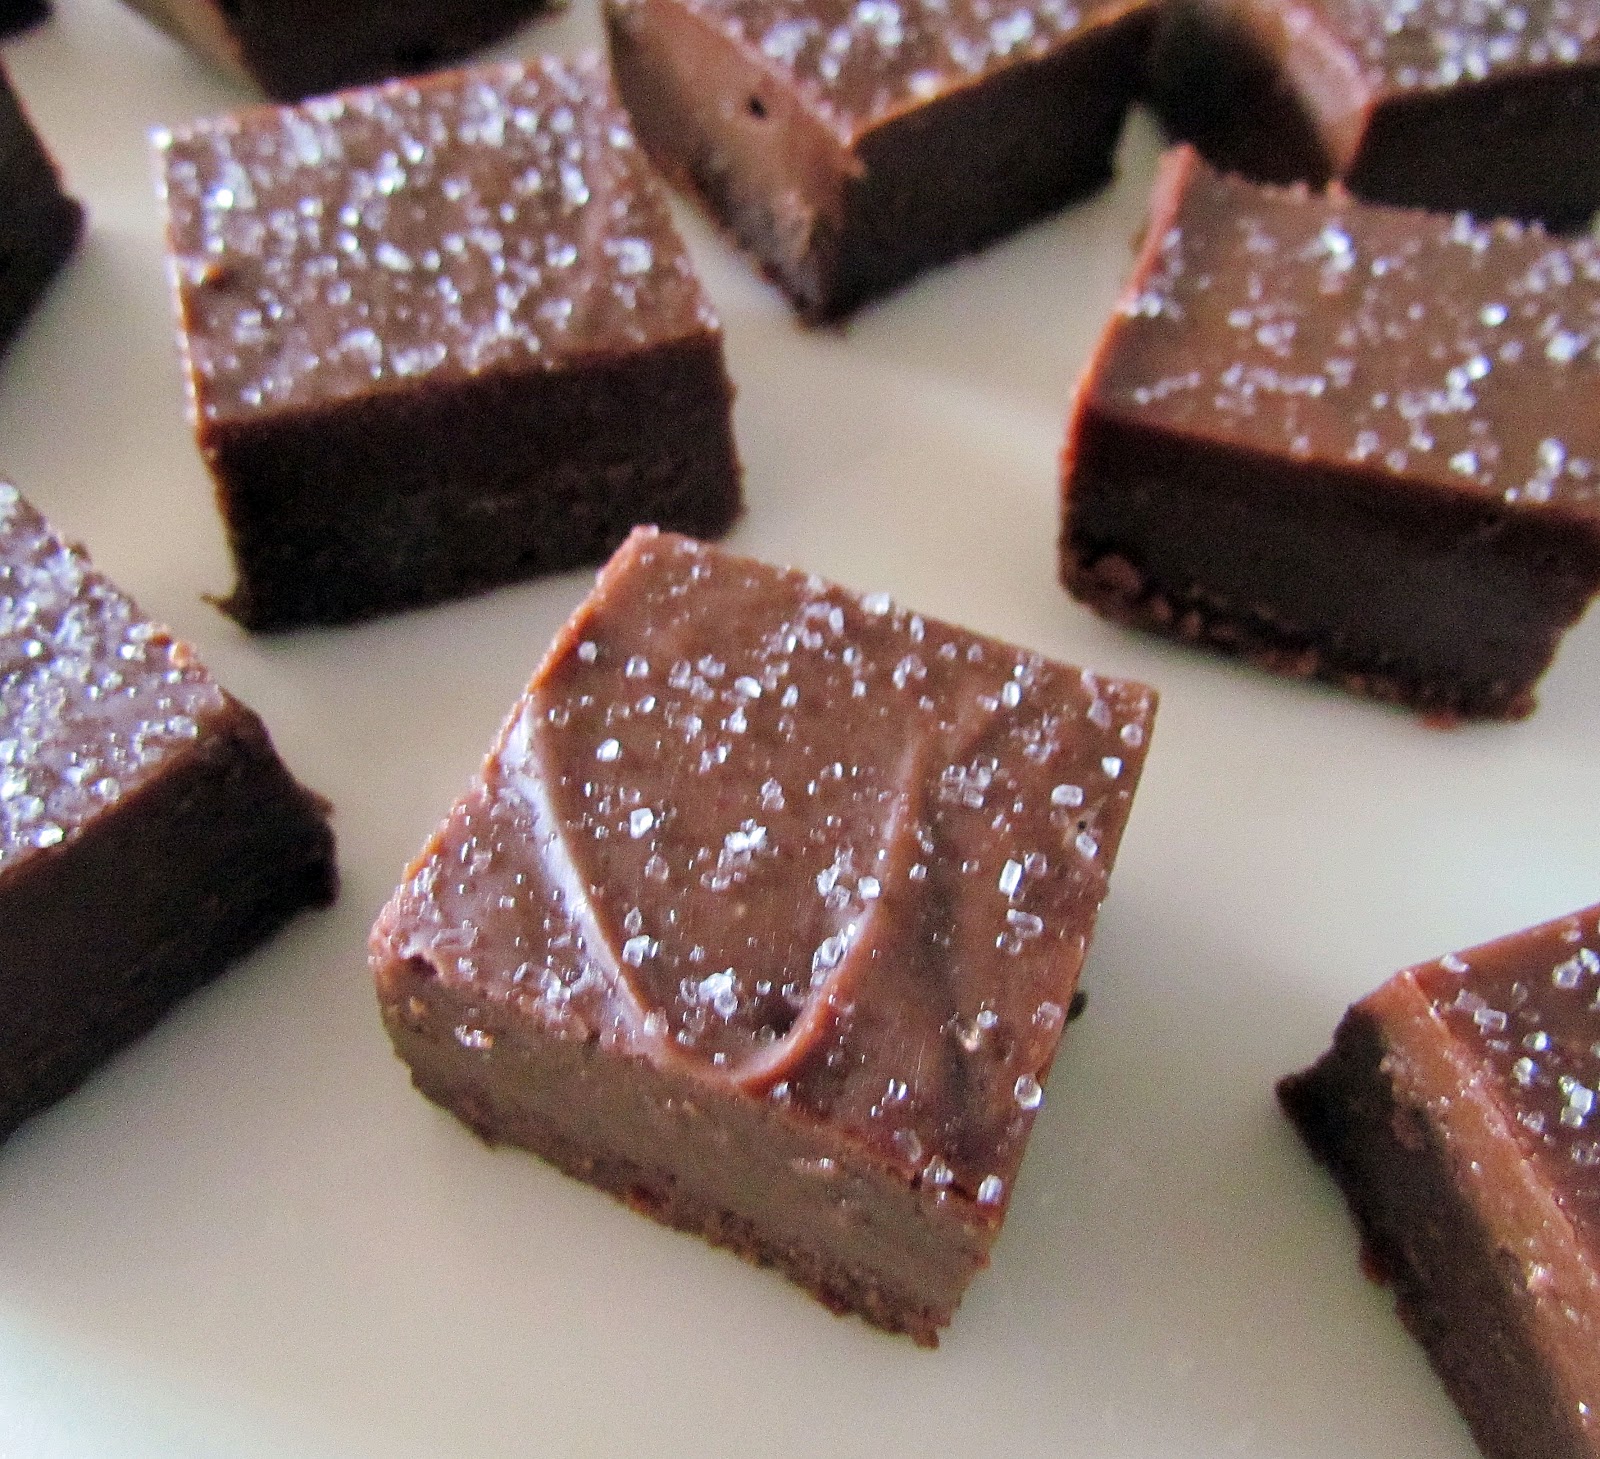

Yum! How pretty are these? Simple, Sweet, Satisfying.

There are so many good fudge recipes out there too so don't shy away if you're not a fan of sea salt or Nutella. For some inspiration check out my Pinterest Board on Fudge, Brownies and Bars.

That's all for now my friends. I hope you are all having a wonderful week and, as always,

Happy Baking!

Nutella Fudge with Sea Salt Via CookinCanuck

1 14oz can sweetened condensed milk
1 tsp vanilla
8 oz dark chocolate (I used milk chocolate chips)
1 cup Nutella
3 tbsp butter, softened, cut into slices

sea salt, for sprinkling

1. Spray a 8x8 in pan with cooking spray, and then line the pan with parchemnt paper, being sure to leave extra hanging off the pan (to pull the fudge out later)
2. Combine all ingredients except sea salt in a deep-rimmed pan set over low/medium heat. Heat until everything melts, stirring constantly, and consistency is smooth. Remove from heat.
3. Pour into prepared pan and smooth top with spatula. Wait a minute or two and then sprinkle sea salt (as much as you like) over the top of the fudge, pressing down slightly if needed to secure the salt.
4. Place in fridge for 2-3 hours or until firm, or overnight.
5. Remove fudge from pan by grabbing parchment paper and lifting gently. Using a long sharp knife, cut fudge into small squares. Keep in airtight container in fridge.

Tuesday, June 12, 2012

Twix Brownies

Hello friends!

So now that I am back in Florida and pretty much have the whole kitchen to myself, I was almost at a loss as to what to bake for you all for this week's post. Thankfully, Jamie over at MyBakingAddiction came to my rescue in the form of these Twix Brownies. After seeing this recipe (and inadvertently drooling over my laptop) I checked on my Recipe Index to see how many brownies I had listed there. It's quite a sad showing. Yes the Cookie Dough Topped Brownies were a huge hit, but I haven't been giving brownies their due here On Sugar Mountain and I mean to change that. Why the sudden change of heart you may ask?


Well to be truthful I've never been a huge brownie fan. Not that I dislike them, but my longstanding love affair with muffins and just plain old craving for cookies has kept me from realizing the truth...


Brownies are fabulous.


Brownies with candy bar pieces inside of them are out-of-this-world. Really the only reason I did not just at every single one of these brownies is that they need more Twix: a whole layer of side-to-side Twix pieces is in order next time I bake these brownies.

I'll also let you in on a little secret: I have been slacking. Yes, shocking I know, but many a time have I gazed at a brownie recipe, seen that it needed un-sweetened chocolate, and (cringe) used chocolate chips in their place.


What was I thinking? That it was a money-saving, easy substitution, but friends, the unsweetened chocolate is key to establishing a deep, rich chocolate flavor in brownies. I apologize to all brownie lovers; I knew not what I did and I am sorry.

Needless to say you must make these brownies; even if you aren't partial to Twix (though I do not know how such a thought is possible) you can easily substitute Reese's Pieces, Snickers, or any candy that suits your fancy.

Oh, and before I go, did you happen to notice my adorable little milk bottle? Here's another secret for you that I'm sure you'll love: don't spend the money ordering glass milk bottles online. The Starbucks mini Frappuccino bottles, when the plastic wrapper is ripped off, look just like them and you get an excuse to indulge in a deliciously sweet coffee drink!


Happy Baking!


Twix Brownies Via MyBakingAddiction

3/4 cup butter, cut into 1 tbsp cubes
4 oz chopped unsweetened chocolate
1 1/4 cups sugar
1 tsp vanilla
1/4 tsp salt
3 eggs
1 cup flour

16 fun-size Twix Bars, chopped into bite size chunks

1. Preheat oven to 350 and line one 8x8 pan with aluminum foil and spray with cooking spray.
2. Put butter and chocolate in microwave safe bowl and microwave on 20 second increments until butter completly melts. Then stir until chocolate melts.
3. Whisk in sugar, vanilla, salt, and then eggs until fully incorporated.
4. Slowly stir in flour, mixing until just combined.
5. Pour half of batter into prepared pan, then sprinkle Twix all over the brownies. Cover with remaining brownie batter and then bake at 350 for 30-35 minutes or until toothpick comes out clean. Let cool before cutting into bars.

Wednesday, May 9, 2012

Birthday Cake Fudge

Hello all,

I told you I had to satisfy all the craving that have built up since I hurt my leg, and I have to amdit that after all of the sweets at Rutgers Day, I was regretting not taking any fudge home at the end.


I mean seriously, who doesn't love a giant piece of fudge?

Rutgers Student Bakers' favorite fudge is a cookies 'n cream recipe, but I wanted to try one I've had pinned on my Pinterest boards for months: birthday cake flavored. Yum.

So I finally got myself to stop drooling over my keyboard and get to work. I even had this great idea to use one of these pans:


to make equally-sized, easy-to-make fudge pieces. It's actually a silicone brownie pan from Wilton but I'm sure they won't mind if I MacGuyver it to my own delicious purposes.

I have to admit though, I do wish I had tried this one out with the baking club, or at least with a buddy, When she writes to "move quickly", she's not kidding. This fudge started to harden as soon as I turned off the heat. Attempting to turn half of it blue was a bit too much for me, but I managed to get it all into the pan and covered with, what else, rainbow sprinkles.


Phew. Now the good news is that my idea worked and the little bits of fudge came out perfectly from the silicone pan, and are adorable. The bad news? What the kitchen looked like minutes after I got all of it into the fridge to cool.


I've never seen so many dirty pots/pans/silverware. Sigh. It's times like these when I wonder what I would give to have a dishwasher up at college.

But after I salvaged the kitchen I rewarded myself with a taste, and it was like smooth, creamy, sugary perfection. I could've used even more cake mix in the recipe but really, these are quite addicting as is.


These would be a fabulous birthday gift for anyone with a sweet tooth. Or, you know, for yourself...it's someone's birthday somewhere out there...

Happy Baking!


Birthday Cake Fudge Via Mrs. Bettie Rocker

3 cups sugar
1 1/2 sticks butter/margarine
1 (5oz) can evaporated milk
1 (7oz) jar Marshmallow Fluff
1 (12oz) bag white chocolate chips
1/4 cup yellow cake mix powder
1 tsp vanilla
blue food coloring (optional)
rainbow sprinkles (optional)

1. Grease/foil one 8in or 9in square baking pan, or use a silicone baking pan greased with cooking spray.
2. Add margarine, sugar, and evaporated milk to a large saucepan. Bring to a boil and let boil for a full 4 minutes. Remove from heat.
3. Add fluff, white chocolate, cake mix, and vanilla, and stir continuously until all the chocolate has melted and the consistency is uniform.
4. Moving quickly, pour half of the fudge into a heatproof bowl and dye it blue (or whatever color you want).
5. Fill pan with blue fudge first, then the remaining white fudge on top, pulling a knife through to marble (if you want, I always like layers.) 
6. Cover top of fudge with sprinkles and let cool to room temp before storing in fridge for 2 hours to harden.