Showing posts with label whoopie pie. Show all posts

Friday, July 27, 2012

Oatmeal Creme Pies

Hello friends!

Have any of you ever tried using molasses in your recipes?


Have you noticed it smells absolutely awful?

Because it does. I've always assumed it would smell warm and spicy, but as I opened this bottle my nose was assailed by a scent I can't even really describe. Let's just call it unappealing. I would've loved to switch it out for honey, which the internet told me I could, but what if this ingredient was the ingredient to push these oatmeal creme pies over the edge, into the realm of "yum" ? I found these on BakedPerfection and I thought to myself 'it has been awhile since I've whipped up anything resembling a whoopie pie, over six months in fact.' Waiting that long sounds like such a crime, don't you think?


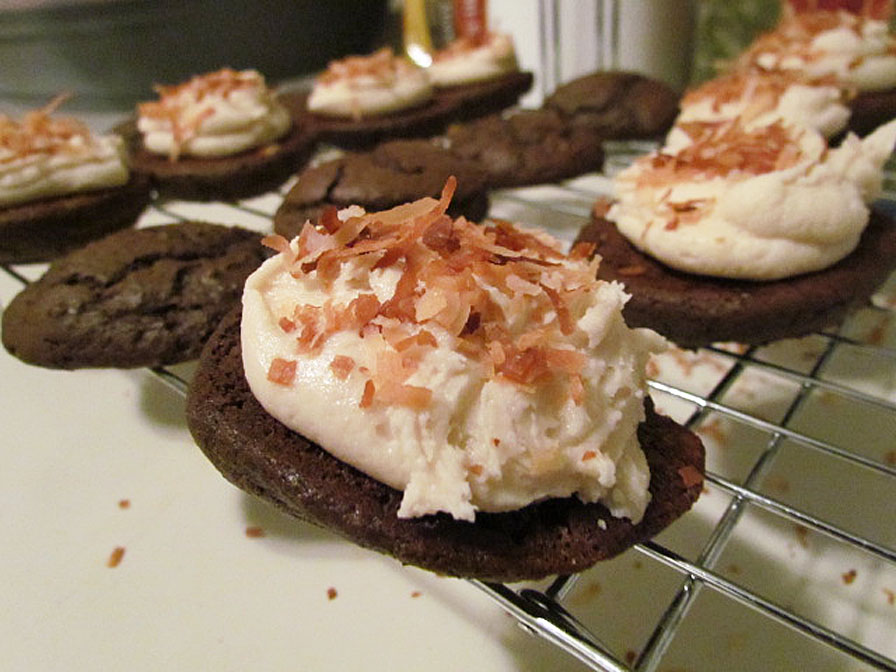
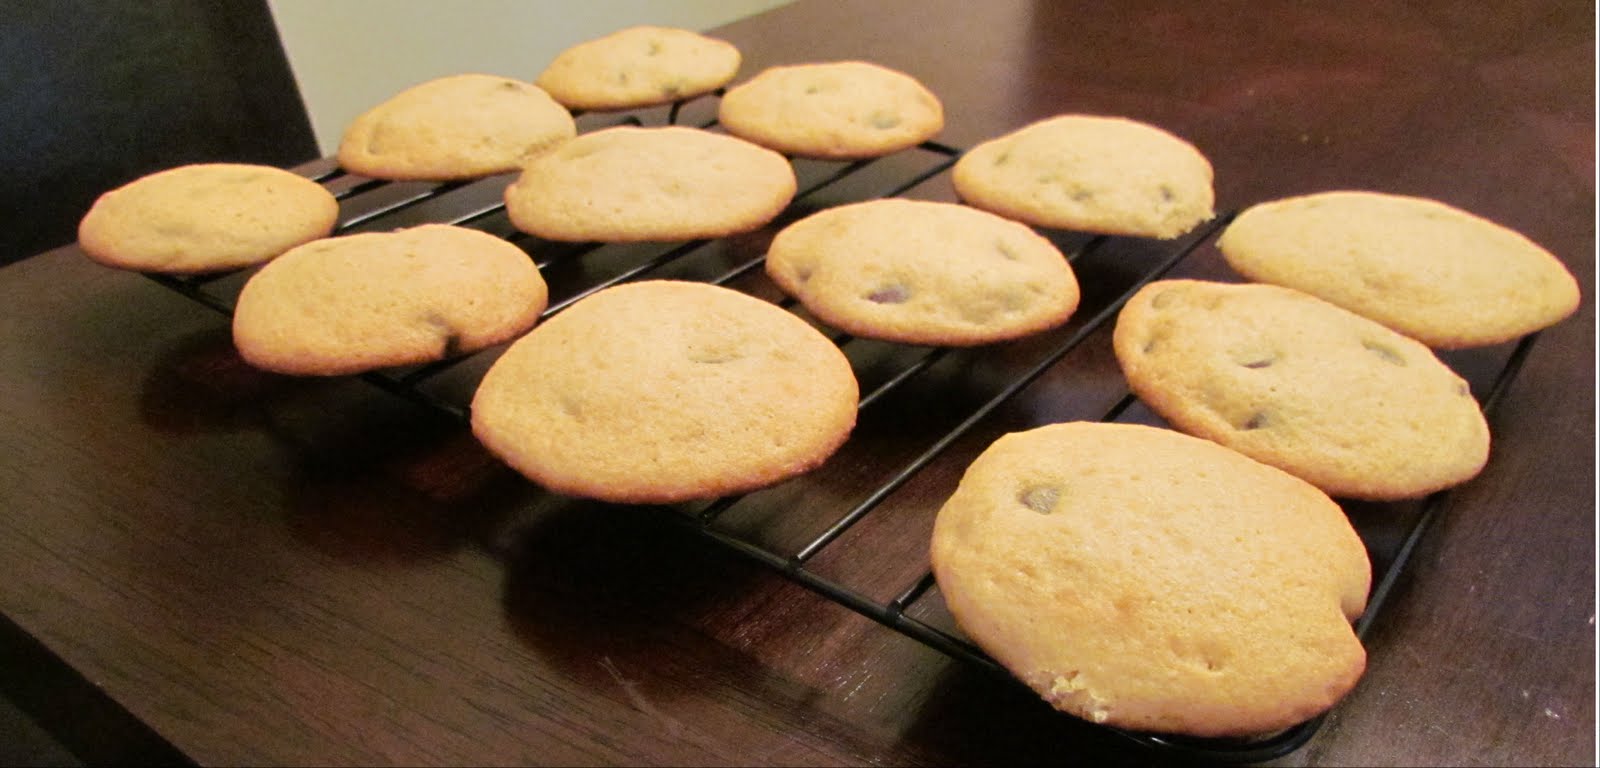
However, between the overwhelmingly weird smell of the molasses and the fact that the dough looks like oatmeal someone left on the counter for six hours, I must admit my hopes were not high. But then the oven did its magic and in 10 short minutes I had these! Add some frosting that tastes just like a melted marshmallow, sandwich two cookies together with it, and ta-da!


Little Debbie eat you heart out.

So I guess molasses is important to the recipe. I'll just have to suck it up and bear with the strange odor it holds because these cookies are too yummy to not make again and again.

Happy Baking!
Oatmeal Creme Pies Via BakedPerfection

1 cup butter, at room temp
3/4 cup packed brown sugar
1/2 cup white sugar
2 eggs
1 tbsp molasses
1 tsp vanilla
1 3/4 cups flour
1/2 tsp salt
1 tsp baking soda
1/4 tsp cinnamon
1 1/2 cups oats

1. Preheat oven to 350 degrees and line cookie sheets with parchment paper.
2. Sift together flour, baking soda, salt and cinnamon in medium bowl and set aside.
3. In large bowl cream together butter and both sugars until well incorporated. Beat in eggs, one at a time, then finally add in the molasses and vanilla. Beat all until well incorporated.
4. Pour flour mixture into wet ingredient mixture and mix until just combined, being careful not to overmix. Stir oats in by hand with wooden spoon.
5. Drop rounded tablespoonfuls of dough ont the prepared cookie sheets, leaving plenty of space for spreading. Bake at 350 for 10-12 minutes or until edges just begin to brown.
6. Let cool on pan for 5 minutes before removing to wire rack to cool completely.

Marshmallow Filling

1/2 cup shortening
1 7oz jar Marshmallow Fluff
1/3 cup powdered sugar
1 tsp vanilla
2 tsp hot water
1/8 tsp salt

1. Dissolve salt in hot water and let cool.
2. Beat together shortening, fluff, sugar and vanilla until fluffy, 3-4 minutes. Add water and mix until well combined.
3. Spread filling on one side of a cookie, then place another cookie on top, pushing down slightly to sandwich them together.

Friday, February 17, 2012

Samoa Whoopie Pies

Hello all,

Today I bring you another whoopie pie, but I must tell you, these are not like any other whoopie pie you may have tried before...


This is your favorite Girl Scout Cookie reborn into a decadent, moist, delicious dessert that is still easily portable and extremely addictive.

That's right: Samoas. My absolute favorite cookie ever.  The only issue I have with them (which I think you will all agree is a legitimate one) is that they don't put anywhere near enough cookies in one of those boxes. Let's be serious here Girl Scouts: I want to eat more than the meagre sixteen you put so delicately into one box. Okay, I know sixteen doesn't sound meagre, but leave that box in a kitchen with family members or roommates and you will realize that it is indeed never enough.

Now I know it's because they're delicate little cookies, and that it's really just the way the Girl Scouts get us to buy oh, say, a dozen boxes of each type of cookie, but I can't take it anymore. I need instant Samoa gratification and I need it now.

So, I found this stellar recipe on SweetLittleDetails and had to test it out for myself. How hard could it be?


Well, they're not so much difficult as they are a laborious. It's a many stepped process, but every step is needed to achieve chocolatey, caramel, coconut perfection.

Sigh. My life is complete.


Still want more? Check back next week for my final post on these sweet little sandwiches with Carrot Cake Whoopie Pies!

Samoa Whoopie Pies Via SweetLittleDetails


1 2/3 cups flour 
2/3 cup cocoa powder 
1 1/2 tsp baking soda
1/2 tsp salt
1/4 cup softened butter
1/4 cup shortening
1 cup brown sugar, firmly packed
1 egg
1 tsp vanilla
1 cup milk
1 cup toasted coconut
1 cup chocolate chips, melted
1. Preheat oven to 350 degrees and line two cookie sheets with parchment paper.
2. Whisk together flour, baking soda, cocoa powder, and salt in a medium bowl. In a separate, larger bowl beat butter, shortening and sugar for a good 5 minutes or until well incorporated. Beat in egg and vanilla.
3. Beat in flour mixture and milk in two additions (1/2 flour + 1/2 cup milk, repeat) until well incorporated.
4. Measure out tablespoonfuls of batter onto cookie sheet, leaving plenty of space between for spreading. Bake at 350 degrees for about 10 minutes or until whoopie pies spring back lightly when touched. Let cool 5 minutes on pan before moving to cool entirely on wire rack.
Toasting Coconut: Spread coconut out onto rimmed baking sheet and bake at 350 degrees for about 10 minutes, stirring often to prevent burning.
Chocolate Drizzle: Melt chocolate chips in microwave safe bowl on 30 second intervals until completely melted.
Caramel Buttercream
1/2 cup butter, softened
1/4 tsp salt
1/4 cup + 2 tbsp brown sugar
1 tsp vanilla extract
1/4 cup caramel syrup
1 tbsp + 2 tsp milk
3 cups powdered sugar
1. Beat butter and brown sugar, then beat in salt, vanilla, caramel syrup, and milk.
2. Slowly beat in powdered sugar.
Assembling Whoopie Pies:
Match up cookies according to size and pipe buttercream onto one cookie. Sprinkle toasted coconut on top of buttercream and then drizzle with chocolate. Place other cookie on top, pressing gently to secure. 

Tuesday, February 14, 2012

Pink Velvet Whoopie Pies

Happy Valentine's Day!

I am sure there are just about a ton of pink/red-themed dessert posts floating around by now, but is that really such a bad idea? I, for one, can always use more pink in my life.

Which is why it was slightly disappointing when my supposedly pink velvet whoopie pies turned from bright pink to, well...


Maybe I meant Peach Velvet?

I often go to "paint your own pottery" with my mom and they always say to make the color deeper than you want it because once it's baked (you were wondering where the relevance was weren't you?) it comes out much lighter.

Case and Point: whoopie pies that resemble my skin tone after I am out in the sun too long. Ugh.


So are they pretty in pink? No. I was a bit overdue for a less than beautiful baked good, especially after the adorable lemon blueberry cheesecake cookies and the super cute strawberry muffins.

But they ARE delicious, and for Valentine's Day it's the thought that counts. When I bring these over to my boyfriend tonight he will enjoy them regardless of the color, because I made them especially for him.

Plus they also gave me the chance to use my beautiful new baby blue cake stand (seriously, go get yourself a dozen; they're under $3 at Christmas Tree Shop in a slew of Spring colors).


I've included the recipe below from KokoCooks (whose whoopie pies are indeed pink) and so my only advice to you when you approach these - make sure you have a deep pink/red color before you bake. It will absolutely positively lighten by the time you take them out to cool.

Happy Valentine's Day and Happy Baking!

Pink Velvet Whoopie Pies Via KokoCooks

2 1/4 cups flour
1 tsp baking soda
1/4 tsp salt
1 cup sugar
1 egg
1/3 cup vegetable oil
1 tsp vanilla
red food coloring (as needed - at least 10 drops)
3/4 cup buttermilk

1. Preheat oven to 350 and line two cookie sheets with parchment paper.
2. Whisk together flour, baking soda, and salt in a medium bowl. In a separate, larger bowl, whisk together sugar, egg, and oil until well combined. Whisk in vanilla and food coloring.
3. Fold in flour mixture and buttermilk in alternating batches, starting and ending with flour.
4. Scoop batter out with mini ice cream scoop and place (at least 2 inches apart) on cookie sheet.
5. Bake at 350 for 10-15 minutes or until a whoopie pie springs back lightly when touched.
6. Let cool 5 minutes on pan before transferring to wire cooling rack.
7. Match whoopie pie halves together according to size. Place large dollop of Marshmallow Filling in center of one half and place other cookie on top, pushing down slightly to spread filling.


Marshmallow Filling
1/2 cup butter, softened
1 cup powdered sugar
1 cup marshmallow fluff
1/2 tsp vanilla
splash of heavy cream (or milk)

1. Combine all ingredients and beat until smooth.

Thursday, January 12, 2012

Strawberry Whoopie Pies

Hello all,

The return to winter weather (for me) is approaching quicker than ever, and I am so not looking forward to it. It has been an average of 70 degrees for my winter vacation, and the idea of bracing the average 35 degrees up in New Brunswick fills me with dread. With that said - the rest of my baking adventures until I leave will be delectable, fruity, and full of Spring/Summer fun.

After the huge success of the Strawberry Shortcake Muffins, I just had to see what else I could whip up with these amazingly juicy little fruit that have just come into season down here in Florida. I came across Strawberry Whoopie Pies on SweetPea's Kitchen and I knew I had to try it.


I always thought shortening was the key for Whoopie Pies, but apparently vegetable oil and some sour cream can go a long way. These are chewy, cake-y and full of fresh strawberry flavor. Although they are sort of, well, huge (she said heaping tablespoons...) it will keep me from eating all of them in one go; I hope.


I hope these remind you of summer as much as they do for me (I bet it would work with blueberries or raspberries as well!) and as always,

Happy Baking!


Strawberry Whoopie Pies 
slightly adapted via SweetPeasKitchen

3 cups flour
1 cup brown sugar
2/3 cup vegetable oil
1 cup finely chopped strawberries
2 eggs
1/2 cup sour cream
1 1/2 tsp baking powder
1 tsp baking soda
3/4 tsp salt

1. Whisk together flour, baking powder, baking soda, and salt in a medium bowl.
2. Combine oil and sugar, whisking until thoroughly incorporated. Whisk in sour cream and strawberries.
3. Whisk in eggs, one at a time, until incorporated. Fold in flour mixture in two batches; do not overmix
4. Cover and refrigerate for 1/2 hour
5. Preheat oven to 350 degrees and line two baking sheets with parchment paper.
6. Drop heaping tablespoonfuls of batter onto the baking sheets approx. 2 inch apart (to allow for spreading).
7. Bake at 350 for 10-12 minutes or until a toothpick comes out clean from one of the cookies.
8. Let cool on pan for 10 minutes then transfer to wire rack to cool completely.

Frost - Flip cookie upside down and place large dollop of Buttercream in center. Place another cookie on top and gently press to spread Buttercream to edges.


Strawberry Buttercream

1 cup softened butter
1 cup finely chopped strawberries
4 cups powdered sugar
1-2 drops red food coloring

1. Beat butter until fluffy, then add in powdered sugar. Slowly add in strawberries and food coloring and beat until frosting reaches uniform consistency.


Whoopie Pies on FoodistaWhoopie Pies

Tuesday, July 26, 2011

Wonderful Whoopie Pies

Has anyone else noticed I enjoy alliteration way too much? Wonderful Whoopie Pies, Cake Pop Conundrum, Battle Biscotti....maybe I should start working with other literary tricks for my titles.

Well, after this post I mean. ;)


As the name implies, today's post is about the fantastic treat that is the whoopie pie. Whether they originated in Pennsylvania or Maine really doesn't matter much to me; as long as they're delicious, I'm for them. Although, to be fair, my first whoopie pie WAS in Maine when vacationing with my boyfriend's family. Homemade, actually, by his grandmother, and I cannot express just how amazing it was. Oatmeal with Vanilla Cream, they were just so homey and delicious; though I never did manage to acquire that recipe.

So I thought I'd try them out for the first time this week, since I had an urge to be a little more adventurous than usual. And what better way to be adventurous than to test out a chocolate chip whoopie pie recipe from Tracy's Culinary Adventures? The men in my family only eat chocolate chip cookies anyway, so I figured I could get them to taste test these for me.

Warning: Making Whoopie Pies is uber fun and rewarding, but messy. Note whirlwind that blew through my kitchen.

Although slightly intimidated (I mean, they make specific pans to make whoopie pies, and here I am, thinking I'll just make them the hard-core, no pans way) I was determined to succeed in this recipe, which wasn't as difficult as I thought it'd be. The dough...batter...whatever you want to call it, isn't too difficult to work with if you have a nice little ice cream scoop or melon baller. The key, I found, is to be really patient when getting the   batter (dough) onto the cookie sheet.


Pick the spot on your parchment-lined cookie sheet, turn over your scooper, and wait. Do not rush it or shake the scooper. You really want it to just fall out of it onto the sheet so that it retains a somewhat round shape. This is the one point where I am sure that a whoopie pie pan might come in handy, but people made these without pans before, so I see no reason to buy one if it's not absolutely necessary. I may be a little lazy when it comes to Cake Pops, but these don't take over three hours to prepare.


Success! Ah, there's nothing more satisfying to me than a recipe gone right. There were a few that were slightly misshapen, but that's what makes them homemade, right? Good eats are good eats.

SPEAKING of good eats, another word of caution for all of those who, like me, enjoy licking the spoon after baking. Although shortening makes these cake-like cookies moist and delicious after they're baked, it does make the batter taste like, well, shortening. Definitely not good eats, trust me. I hope I saved a few of you from my overly-eager mistake.


So, we flip - we pipe, and voila - whoopie pies! I guess you could just slab on some frosting as opposed to pipe, but piping is way more fun and looks great.

These were a smash hit at my house - Dad ate three in one night and even the picky-eater brother ate two. I think I ate about three or four as well, so this is a keeper, for sure.


My last suggestion when trying this out - don't substitute the shortening for butter. Seriously, I know shortening is kind of...strange, but it's key to how these cookies spread. It might make the unbaked batter taste awful, but the end product is to-die-for. Enjoy!

Chocolate Chip Whoopie Pies
Via Tracy's Culinary Adventures

2 1/4 cups all-purpose flour
1 1/2 tsp baking powder
1/2 tsp salt
4 tbsp vegetable shortening (Crisco)
4 tbsp butter, room temp
1/2 cup sugar
1/2 cup brown sugar
2 eggs, room temp
1/2 cup buttermilk, room temp
(*Note, if you don't have buttermilk, put 1 1/2 tsp white vinegar in the bottom of the measuring cup and pour enough milk to reach 1/2 cup. Let sit for 10 minutes and presto! buttermilk! )
2 tbsp whole milk
1 tsp baking soda
1 tsp white vinegar
1/2 tsp vanilla extract
1 cup chocolate chips

1. Preheat oven to 375 degrees F. Line two cookie sheets with parchment paper.
2. Sift together flour, baking powder, and salt.  In a separate, larger bowl, cream together butter, shortening, and both sugars, until light and fluffy. Beat in eggs and buttermilk.
3. In a small bowl, mix together baking soda, vinegar, and milk. Add to the batter all at once with the dry ingredient mixture, and beat until everything is mixed and smooth. Stir in chocolate chips.
4. Use a small ice cream scooper/melon baller, to measure out spoonfuls of batter onto the parchment-lined sheets.  Leave 2 inches of space between each scoop, cookies spread during baking.
5. Bake at 375 for 9-10 minutes, or until the edges are just starting to brown and the cookie springs back when lightly poked with your finger.
6. Let cool for 10 minutes on the pan, then carefully remove to cool completely on a wire rack.

Chocolate Buttercream

1 1/3 cups confectioners' sugar
1/2 cup unsweetened cocoa powder
4 tablespoons unsalted butter, at room temperature
3 tablespoons heavy cream (I just used milk)
1 teaspoon vanilla extract
1/2 teaspoon salt

1.  Sift together sugar and cocoa powder.
2. Add butter and beat on low until crumbly, then add cream, vanilla extract, and salt.
3. Beat until fluffy.


Whoopie Pies on FoodistaWhoopie Pies