Showing posts with label vanilla. Show all posts

Friday, August 3, 2012

DIY Vanilla Sugar Scrub

Hello friends,

If you love baking as much as I do, then you'll understand my need to bring it into every single part of my life. Baking, eating, and now smelling like a cupcake. Yes, you are still on the right blog. No, you did not misread the title. I plan on sharing with you the wonderful  secret I've learned thanks to sites like Pinterest.


You can make your own deliciously scented, economically awesome, body scrub. I have dropped at least $20-30 bucks on a precious jar of scrub from Sephora or Ulta, but no more! This recipe, including the glass mason jar I keep it in, comes in at roughly under $3 a batch.

Did I mention that you will have all of these ingredients already in the pantry? Oh and it's totally okay for sensitive skin. I break out even if the water is too hot in the shower, but this scrub leaves my skin baby soft and without a bump.


Here's our wonderful cast of characters: white sugar, brown sugar, vegetable oil, and vanilla extract. Feel free to splurge and pick up coconut oil or sunflower oil, but canola works just fine and does not have any unwanted smells, like olive oil. Also, you'll need the container you plan on storing the scrub in. I use a mason jar because I like the airtight seal and it's just super cute, but if you have kids or are afraid of shattered glass, just pick up a heavy duty tupperware container.


Fill your container with equal parts white and brown sugar, or as close as you can get. The great thing with this recipe is that it's pretty much adjustable to any kind of ingredients you have on hand. I even do all white sugar with fresh lemon zest for a to-die-for citrus scrub.


Pour out the sugars and mix them together until it looks like you have a bunch of beach sand. Pack the sugar back into your jar, then add about one tablespoon of vanilla extract and a few tablespoons of oil. Let the oil and extract seep into the sugar completely before adding any more oil. You want the oil to penetrate about 1/2 way down the sugar mixture.


Then turn it out one more time into a bowl and mix with your fingers until scrub comes together. When you wash your hands after this you will already begin to notice how awesome this scrub feels.


And that's it! Pack it back into your jar, screw on your lid and you're good to go. Want more scrub ideas? Here's some links with some great ideas for other scrubs that are great on your skin AND on your wallet.

DIY Citrus Salt Scrub
DIY Pumpkin Spice Sugar Scrub
DIY Beauty Tips (with Body Scrub Recipe)

And don't worry; I'll be back next week with a delicious cupcake I've been aching to try out from HowSweetEats.

Until then,

Happy scrubbing!

Monday, May 7, 2012

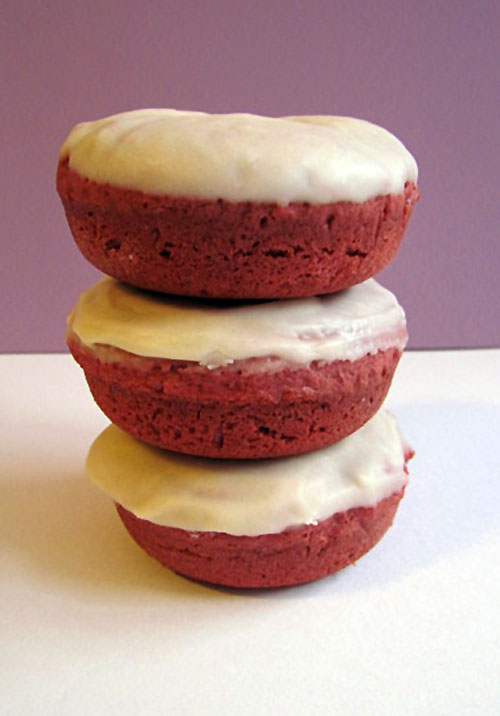
Red Velvet Cake Donuts

Hello friends!

I am finally back in the kitchen whipping up sweet treats to share with you. It took so much self-control to stay off my leg when I had some serious cravings last week, but now I plan to satisfy all of those cravings in the next few posts.

First, a few thoughts on my month of cupcakes challenge. I have learned that, quite honestly, doing an entire month of one type of baked good is not my thing. I am pretty much cupcake-d out...Forever. Or at least for a few weeks.

So with that in mind, naturally the craving I had for red velvet cake was not going to happen if it came out of my kitchen. One week later though, I found myself in the kitchen baking up red velvet...


donuts.


You really didn't think it was going to be another cupcake, did you?

Oh how I love donuts, especially the baked kind which leave me less guilty than their (in my opinion) more delicious yet more terrible for you fried counterparts. Trust me, I'd go for a Krispy Kreme over a baked-cake donut if given the chance, but I can eat more of these delectable donuts without feeling quite so bad about eating them.


These came out absolutely wonderful and right on par with the red velvet flavor I was craving so badly. Think of these as red velvet cake on-the-go! Add some fresh vanilla frosting and you are set.

Happy Baking!

Red Velvet Cake Donuts slightly adapted from Taste&Tell

2 1/4 cups flour
1 tsp baking soda
1 tbsp baking powder
1/2 tsp salt
1 egg
3/4 cup sugar
2 tbsp melted butter
3-4 tbsp semisweet chocolate chips, melted
1/2 cup buttermilk
red food coloring

1. Preheat oven to 350 degrees and grease donut pan(s) with cooking spray. Sift together flour, baking soda, baking powder, and salt in a medium bowl.
2. In a separate bowl, beat together egg and sugar until light and smooth.
3. Beat in melted butter and chocolate chips, then slowly beat in buttermilk.
4. Gradually add flour mixture to egg mixture, stirring until just combined.
5. Fill donut pan cavities 2/3 full with batter (will be very thick, piping it in might be easiest) and bake at 350 for 11-13 minutes or until they spring back lightly when touched.

Vanilla Frosting:

1/4 cup (1/2 stick) melted butter, cooled slightly
1 1/3 cups powdered sugar
1 tsp vanilla
1-3 tbsp warm water

1. Add butter and vanilla to medium bowl. Gradually whisk in powdered sugar.
2. Use tablespoonfuls of warm water to achieve desired consistency.
3. Dip donuts in frosting, then pick up, allowing excess to drip off. Cover with sprinkles or smooth out with spatula.

Friday, April 6, 2012

Easter Nest Cupcakes

Hello all,


Did I ever mention I love Easter? I believe much of my enormous sweet tooth is owing to the awesome Easter Baskets the "bunny" left for my brother and me each year. Unfortunately the bunny no longer stops at my place, so I've had to make due with buying extraordinary amounts of Peeps and scarfing down these carrot cake cupcakes.

Easter = Bunny = Bunnies love carrots = Jess loves carrot cake = carrot cake cupcakes for Easter.

Plus I was so inspired by ParisPastry's Easter Nest Cupcakes that I just had to try it out for myself. I picked up these at Wal Mart the other day:


and got straight to work. Not bad if I do say so myself. :D


A breath of relief as I dig into one and it's absolutely heavenly; no need to relive the disappointment of the Chai Cupcake. 


And in case carrot cake isn't your favorite, here are a few links for some adorable Easter Sweet Treats I've stumbled upon that could be show-stoppers in case you're in charge of dessert this Sunday:

1. Easter Bunny Cake Pops by Bakerella
2. Chick Cupcakes by BirdonaCake
3. PeepCakes by 52 Kitchen Adventures
4. Basket Cupcakes by Dinners, Dishes and Desserts
5. Egg Hunt Cupcakes by InKatrinasKitchen
6. Easter Nest Sugar Cookies by PenniesonaPlatter
7. Coconut Macaroon Nest Cookies by PreparedPantry
8. Easter Bunny Macarons by raspberricupcakes
9. Ultimate Easter Crispy Treats by DoughPuncher
10. Easter Bunny Push Pops by Hungry Happenings

I hope one of these links comes in handy for you in preparation of the holiday - or if you just need another excuse to bake like I do.

Pssst - I have a secret to tell you! 
The next cupcakes coming up are going to be a smash hit!

Would you like a hint? Bananas + Strawberries + Chocolate = ?

Happy Baking!


Carrot Cake Cupcakes Via Yours Truly

1 cup flour
2 cups shredded carrots
1 cup sugar
1 tsp baking soda
1 tsp cinnamon
2 eggs
3/4 cup vegetable oil

1. Preheat oven to 350 degrees and line one 12-cup muffin pan with cupcake liners.
2. In a bowl sift together flour, baking soda and cinnamon. In a separate bowl beat sugar and oil until well combined. Beat in eggs, one at a time, then beat in vanilla.
3. Stir carrots into wet ingredient mixture, then gently fold in dry ingredient mixture.
4. Fill cupcake liners 2/3 way full (I use a 1/4 cup measuring cup) and bake at 350 for 15-20 minutes or until a toothpick comes out clean
5. Frost with vanilla or cream cheese frosting and enjoy!

Wednesday, April 4, 2012

Cupcake Challenge Day 2: Vanilla Chai

Hello friends,

So remember when I mentioned that this month would be a cupcake "challenge"? I originally employed that word because it was exciting and fun, but apparently I was quite accurate with the literal meaning of "challenge"....

Cupcakes are supposed to be stress-free, at least in my opinion they are.

Yet, as I type that I realize I spent 9 hours one day last April making over 1000 cupcakes with the baking club, and in reality that was one of the most stressful experiences ever. I must have missed the memo: cupcakes are now "challenging". Be warned.

I learned this yesterday as I attempted to bake up Vanilla Chai Cupcakes. I followed this recipe to a T but sadly, in the words of my favorite European judge Florian on Cupcake Wars: "this cupcake, it did not work for me."

The recipe said to only fill the liners with 2 tablespoons of batter. So first batch naturally came out like so:


Why did I think it was going to rise more? Who knows. So the next batch I filled it with 1/4 cup, my default when filling cupcake liners. Did they rise more? Yes, of course. Were they any better?

Sadly, no. Unfortunately it just tasted like a lot of ginger, and the consistency was chewy, sticky, and overall disappointing. It's worth trying again (I am a big fan of Bakingdom - anybody who shows me how to make homemade butterbeer definitely deserves another shot in my kitchen). But I have the sinking feeling that these will not be fought over at my workplace as in precious times...


Well, I didnt want to show you these, perfectionist that I am, but this IS about the experience, and not all of them can be as stellar as I'd like them to be. Challenge doesn't always mean success.


I know I usually include the recipe here, but I linked it above and instead I thought I'd share with you all a few links that I find really helpful when baking up cupcakes:

1. Missing an ingredient? Check out Diana's Desserts "Ingredient Substitutions" page for a whole slew of ideas on how to substitute ingredients for items you may already have in your pantry. After stumbling upon this site I never bought store-bought buttermilk again.

2. Basic Cupcake Tips from SomewhatSimple. She has a great list of tips for cupcake baking in general, including how to fill you piping bag, how long to bake cupcakes for, and what kind of liners to use with which kinds of cake.

3.  Basic Royal Icing Recipe from Sweetopia. This is an adorable illustration of how to make Royal Icing. Informative, quirky, and cute, it's a great printout to keep in your recipe book (or to repin onto one of your Pinterest Boards!)

That's all for now. I have (hopefully) something cute in the works for Easter later this week, so check back later for more cupcake concoctions and sweet tips.

Happy Baking!

Wednesday, December 7, 2011

End of the Semester Holiday Donuts

The holiday season also brings with it my favorite kind of season at college - end of the semester. I am one of the few, fortunate souls who just have a million papers dues instead of a million finals. Because of this, I figured I'd surprise my 18th Century Women Writers Class with some End of the Semester Surprise Donuts!


We've been pretty much beating Pride and Prejudice to death so I thought we could all use a little something to keep us going.

I also had the perk of not having class until 2:50 today (seriously, isn't the end of the semester insane? My work day doesn't start today until 3pm. Who would've thought I could get away with that?) so I had the entire morning to test out my adorable, new Wilton Donut Pan. This was one of my Black Thursday steals from Michaels: the last one in the store for about $7.


I went ahead and used the Father's Day Donuts Recipe from awhile back, but with a little twist. I made an eggnog frosting instead of just plain ol' vanilla. I did mention that I love eggnog right?


Of course, for those who don't share my well-founded passion for eggnog, I frosted a few with chocolate as well. I topped them all off with some holiday sprinkles and ta-da! Holiday Donuts.


Again, the recipe for the donuts is here, (with the switch that you bake them at 400 for 7 minutes in the pan) but I've included the recipe for the Eggnog frosting/glaze below. I know the season is a busy one for most of us, but if you have the time to spare, these are definitely worth it.

Happy Baking!

Eggnog Frosting/Donut Glaze


1 1/2 cups powdered sugar
3 tbsp eggnog

1. Measure out powdered sugar, then stir in eggnog until combined. Add more eggnog to smooth out consistency if needed.

Saturday, August 6, 2011

Donut Photo Shoot

Hello all!

Sorry for the delay in posting, but I must confess I felt quite uninspired this week. Well, no, that's not true. I felt inspired to try out BrownEyedBaker's Salted Caramel Brownies...which, when attempted by yours truly, were then aptly renamed Disappointing Burnt Butter Brownies >_< . Not good my friends, not good.

To add to my frustrations, I received yet another photo reject from FoodGawker (FG). I have been trying feverishly to get just one of my photos from my posts up on there, unfortunately to no avail. My composition is always too tight or my lighting is off. Rawr I say. I've seen plenty on that site with tighter compositions than mine.

So what is a girl to do? I go and check out some of my favorite baking blogs, and I just start to daydream about having oh, I don't know, 500 followers? Having a whole gallery on FG? Having recipes that other bakers drool over?

Alas, it is not to be. Well, not yet anyway. I know it takes time, but seriously, it can get frustrating. All of you out there who are like me, trying to gain a following either here on Blogger, or with FoodBuzz or FG, with no success, you know what I mean. It gets better though; I think. I hope.

After telling myself to pull it together, I decided that I would do a post that gives me some more practice with my food-styling. Although I am a writer, the photo-taking aspect of blogging is still new for me, which sort of explains the rejections from FG.


So the new motto for me (and my blog) is practice! practice! practice! Failure is not bad; it just means I learned a whole new way not to do something.

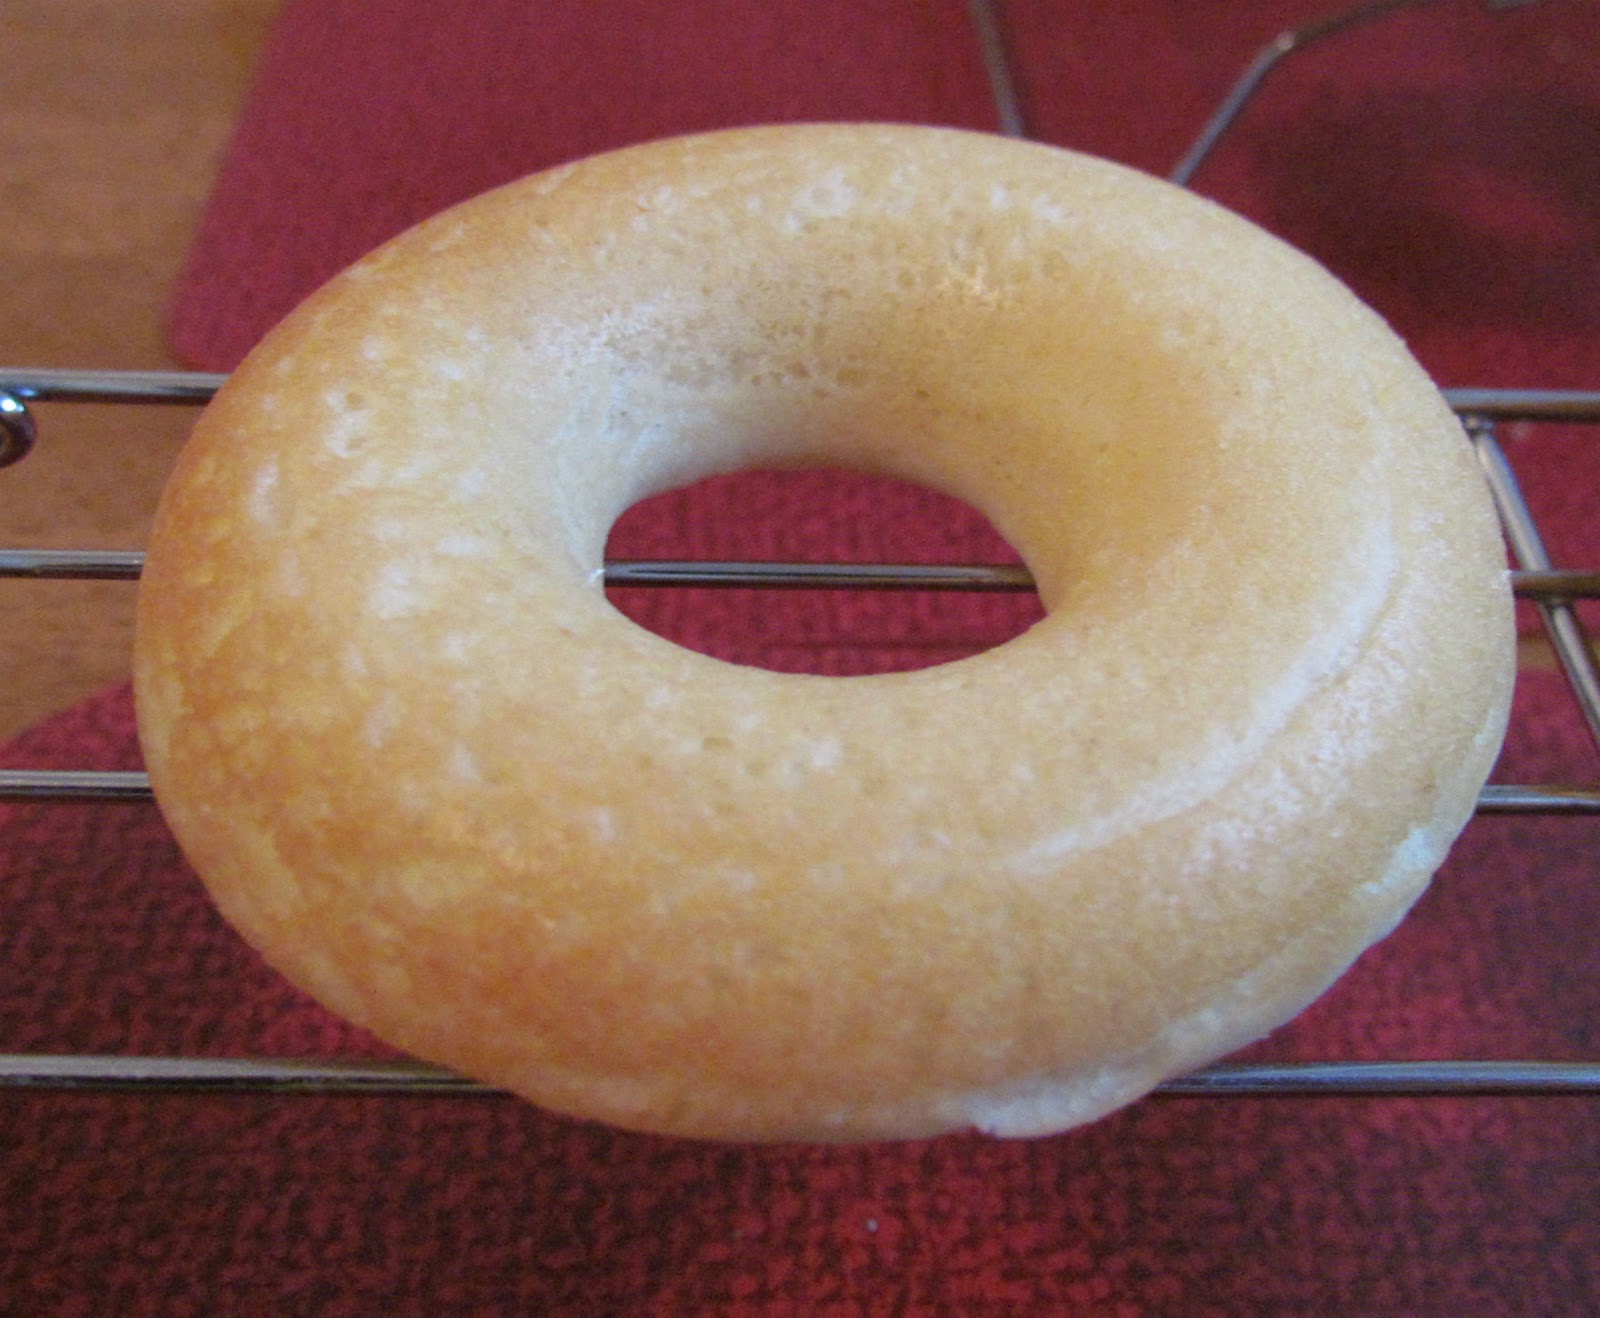
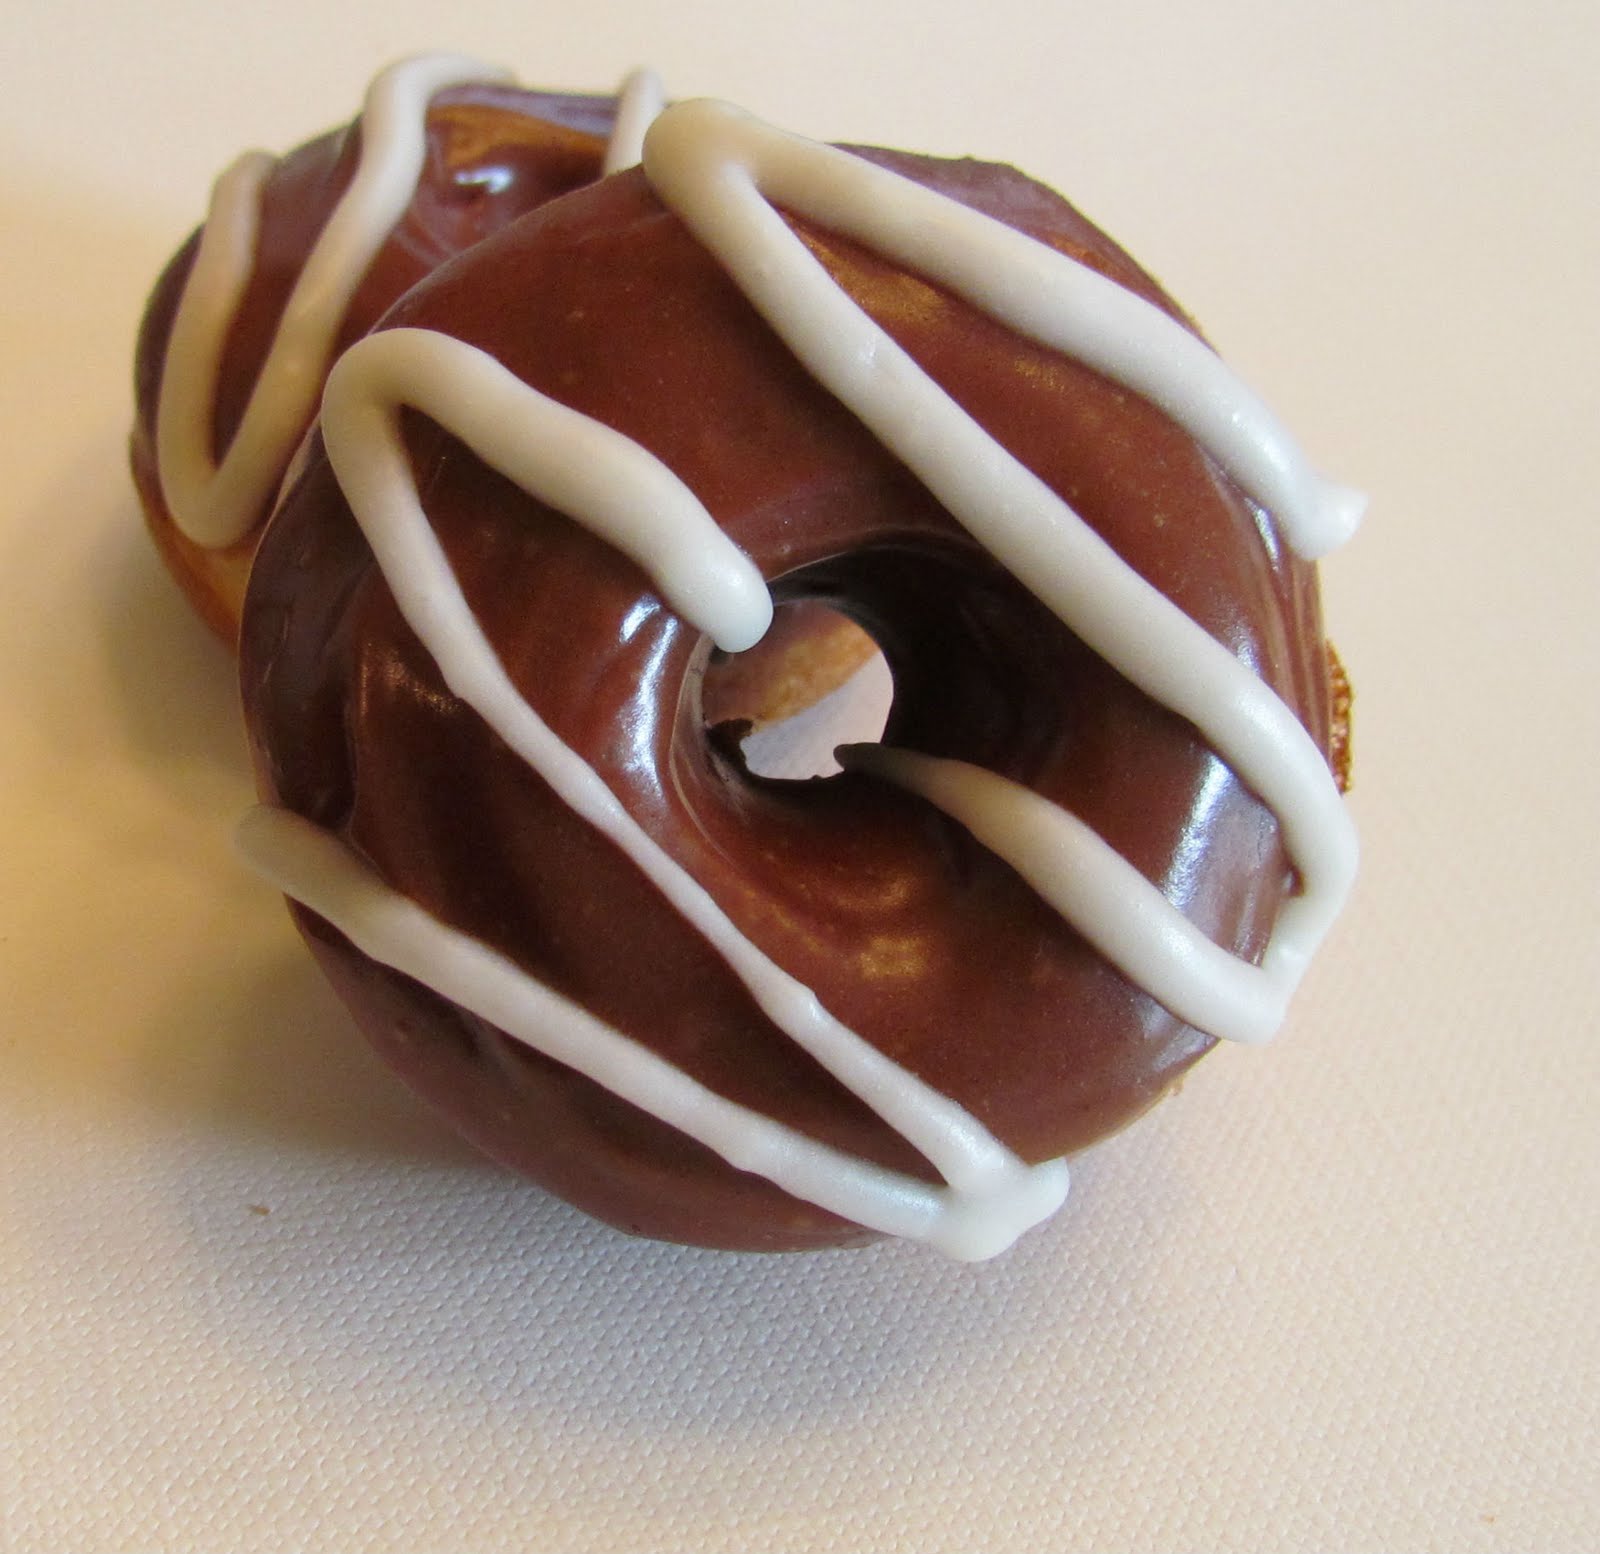
And what else should I dedicate an entire photo shoot to but one of my favorite little treats - mini donuts!


There's a recipe via PinchofYum at the end of the post after the photos. Hope you enjoy looking as much as I enjoyed decorating and photographing! Enjoy!


Vanilla Mini Donuts with Chocolate Frosting (Slightly adapted from Pinch of Yum)

1 1/4 cups cake flour, sifted
1/2 cup sugar
1 1/4 tsp baking powder
1 tsp vanilla
3/4 tsp salt
1/2 cup buttermilk
1 beaten egg
1 1/2 tbsp melted butter

1. Sift together cake flour, sugar, baking powder and salt in a large bowl.
2. Add vanilla, buttermilk, egg and melted butter all at once and stir until just combined.
3. Bake 4-6 minutes in Donut Maker. Let cool then dip in Chocolate Frosting.

Chocolate Frosting Via Food.com


1/3 cup butter
2 cups powdered sugar
1 1/2 tsp vanilla
4-6 tbsp hot water
4 oz milk chocolate chips

1. Melt butter and chocolate chips in 15 second intervals in microwave.
2. Beat in powdered sugar and vanilla.
3. Add enough hot water to achieve smooth consistency.

Saturday, July 23, 2011

Mom's Perfect Pound Cake

Hello all!

So the other day I went with my parents to go visit Daisy (my dad's horse) and I had a great idea. The man who takes care of Daisy for us is named Dave, and he's a nice (albeit rough) old man who really does love horses. After having so much success with the Red Velvet Cake Pops, I thought I'd make a kind gesture and bring him one. Although a bit hesitant, Dave goes in for the big bite, and wouldn't you know it he loses part of the cake pop right into a bush! AND to top it all off, he jumps right in there and fetches it out and eats it!

I guess he liked it right?

So I thought to myself, 'poor guy lives all by himself, and he would probably love something sweet, and more than just a little cake pop.' I decided I'd make him a pound cake, since who doesn't love pound cake? Tons of butter, tons of eggs, tons of sugar = tons of fun. I go to search the internet for a recipe, but then my mom says "wait! I have the BEST recipe for pound cake. Let me get it; I've had it for forever."

At this point, I'm floored. My mom is not one for recipes. Ever. Even when she does quote-on-quote "use" a recipe, she usually deviates from it completely in all of a few minutes. So to hear that she has a pound cake recipe that she has kept for years was astonishing.


Do you see that little pamphlet? That's it. The recipe for "Perfect Pound Cake." This little booklet looks like its as old as I am, so now I'm really intrigued. For her to keep such a tiny little booklet like that for something as simple as a pound cake recipe (which I probably would have just searched for on the internet) makes me think that this is no ordinary pound cake.

So off I go with testing out the recipe, beginning with the whopping 2 sticks of butter, 1 1/3 cups sugar, and 2 tablespoon vanilla extract.


Then we have what it looks like after the 4 (count it FOUR) whole large eggs.

I blend in the flour, baking powder, and salt, and we have one dense batter on our hands. Talk about pound cake - the filled pan is way heavier than I expected.. But, in it goes, into the oven at 350 degrees for 55 minutes. During which time my kitchen and all surrounding area becomes infused with the delicious scent of homemade vanilla pound cake: my new favorite.


Houston: we have pound cake. No problems in sight yet but I have yet to try and lift this out of the pan. Fingers crossed it's still pretty once I'm through with it!


Perfect? No. but pretty nonetheless, and most importantly: it's yummy, which I'm pretty sure is all Dad's friend Dave cares about. Sara Lee eat your heart out. ;)


Mom's Perfect Pound Cake:

2 cups all purpose flour
1 1/3 cups sugar
1 cup (2 sticks) butter
4 eggs
1 tsp baking powder
1/4 tsp salt
2 tbsp vanilla extract

1. Preheat oven to 350 degrees F. Thoroughly grease one 9x5 loaf pan.
2. Cream butter and sugar until light and fluffy. Then beat in eggs, one at a time, followed by vanilla.
3. In a separate bowl, whisk together flour, baking powder, and salt.
4. On the lowest speed possible, beat in dry ingredients until just combined (and smooth).
5. Bake at 350 for 55-57 minutes or until toothpick inserted in deepest part of loaf comes out clean
6. Cool for 10 minutes in pan and then gently remove to cool completely on a wire rack.