Showing posts with label from scratch. Show all posts

Tuesday, September 18, 2012

Nutella Fudge with Sea Salt

Hello friends!

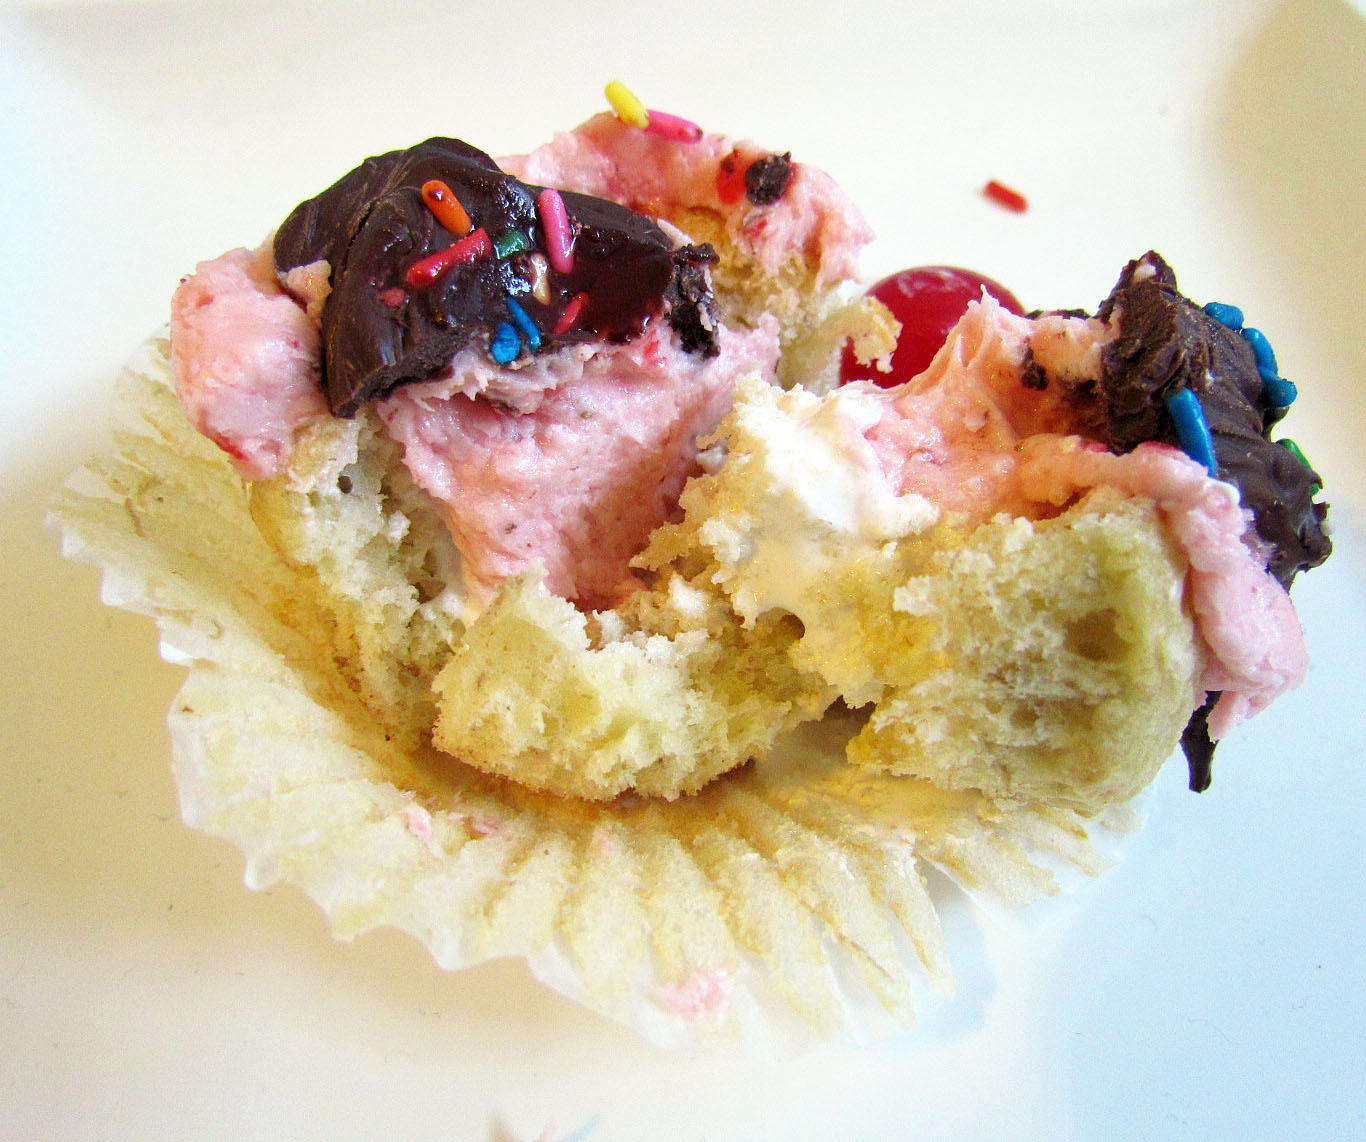
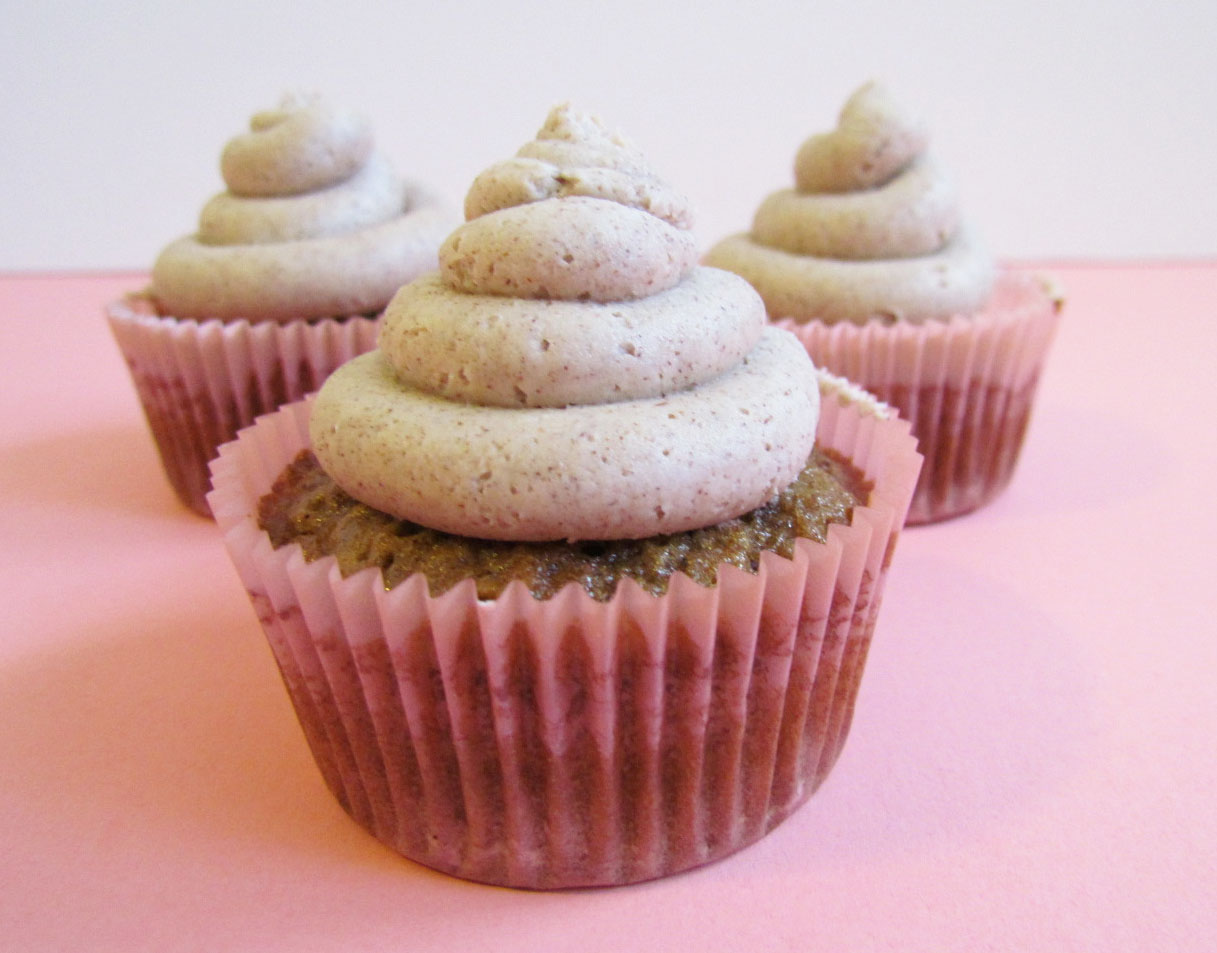
With being back at school, work, running two blogs and the baking club, I find myself more and more intrigued by simply prepared yet superbly delicious recipes. Though this could be in part due to the Brownie Banana Bread Cupcake Blunder of last week (I have mentioned I have a fragile ego have I not?).

So today I am happy to share with you this gem of a recipe from CookinCanuck for Nutella Fudge with Sea Salt.


Fudge is one of those wonderful treats that sounds like it's too much work when in reality you can have the whole batch done and in the fridge in less than twenty minutes. It's a crowd-pleaser every time and you get the satisfaction of hearing everyone go "mmmm" while mentally patting yourself on the back for a job well done with minimal effort and time.

First trick though that is crucial to successful, stress-free fudge: lining your pan with parchment paper. The key is to have the paper longer than the pan, so that after you pour the fudge in and let it cool, you can easily grab the excess paper to lift the fudge out of the pan in one piece.

One of the best bits of knowledge ever that I picked up while roaming through fudge recipes online.


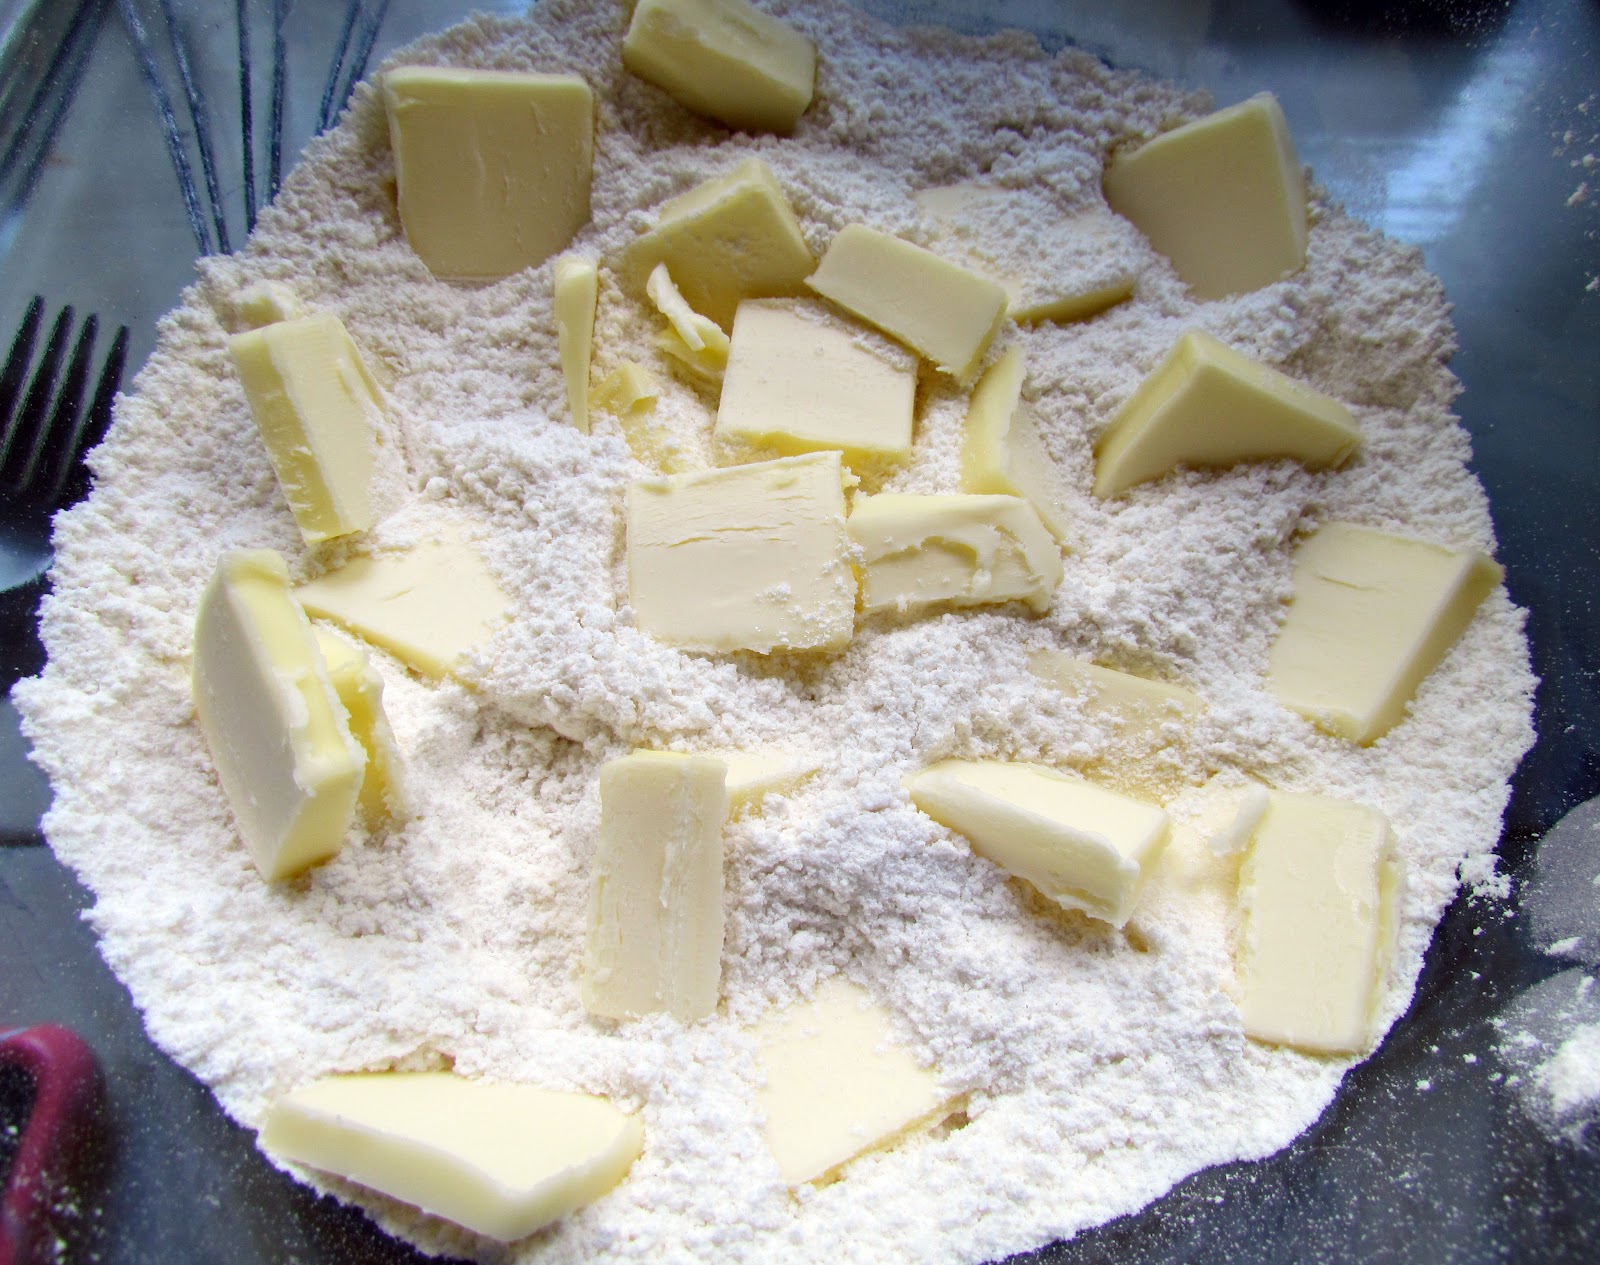
And here's your main lineup for the fudge. Note that I don't have the actual "Nutella-brand" Nutella. The ShopRite brand tastes exactly like it and is half the price. College Savings FTW. Now take these plus a tad bit of butter...


and melt 'em all down in a big pot. Technically you should use a double boiler system, but that would take away the whole minimal-effort deal I am trying to achieve here. If you have a double boiler, then super. If not, no worries.

Keep the heat low and stir the mixture constantly so that the chocolate doesn't burn. It doesn't take very long for everything to melt anyway, so if you keep it low and slow, you should be good. I did it this way and my fudge came out fabulous.


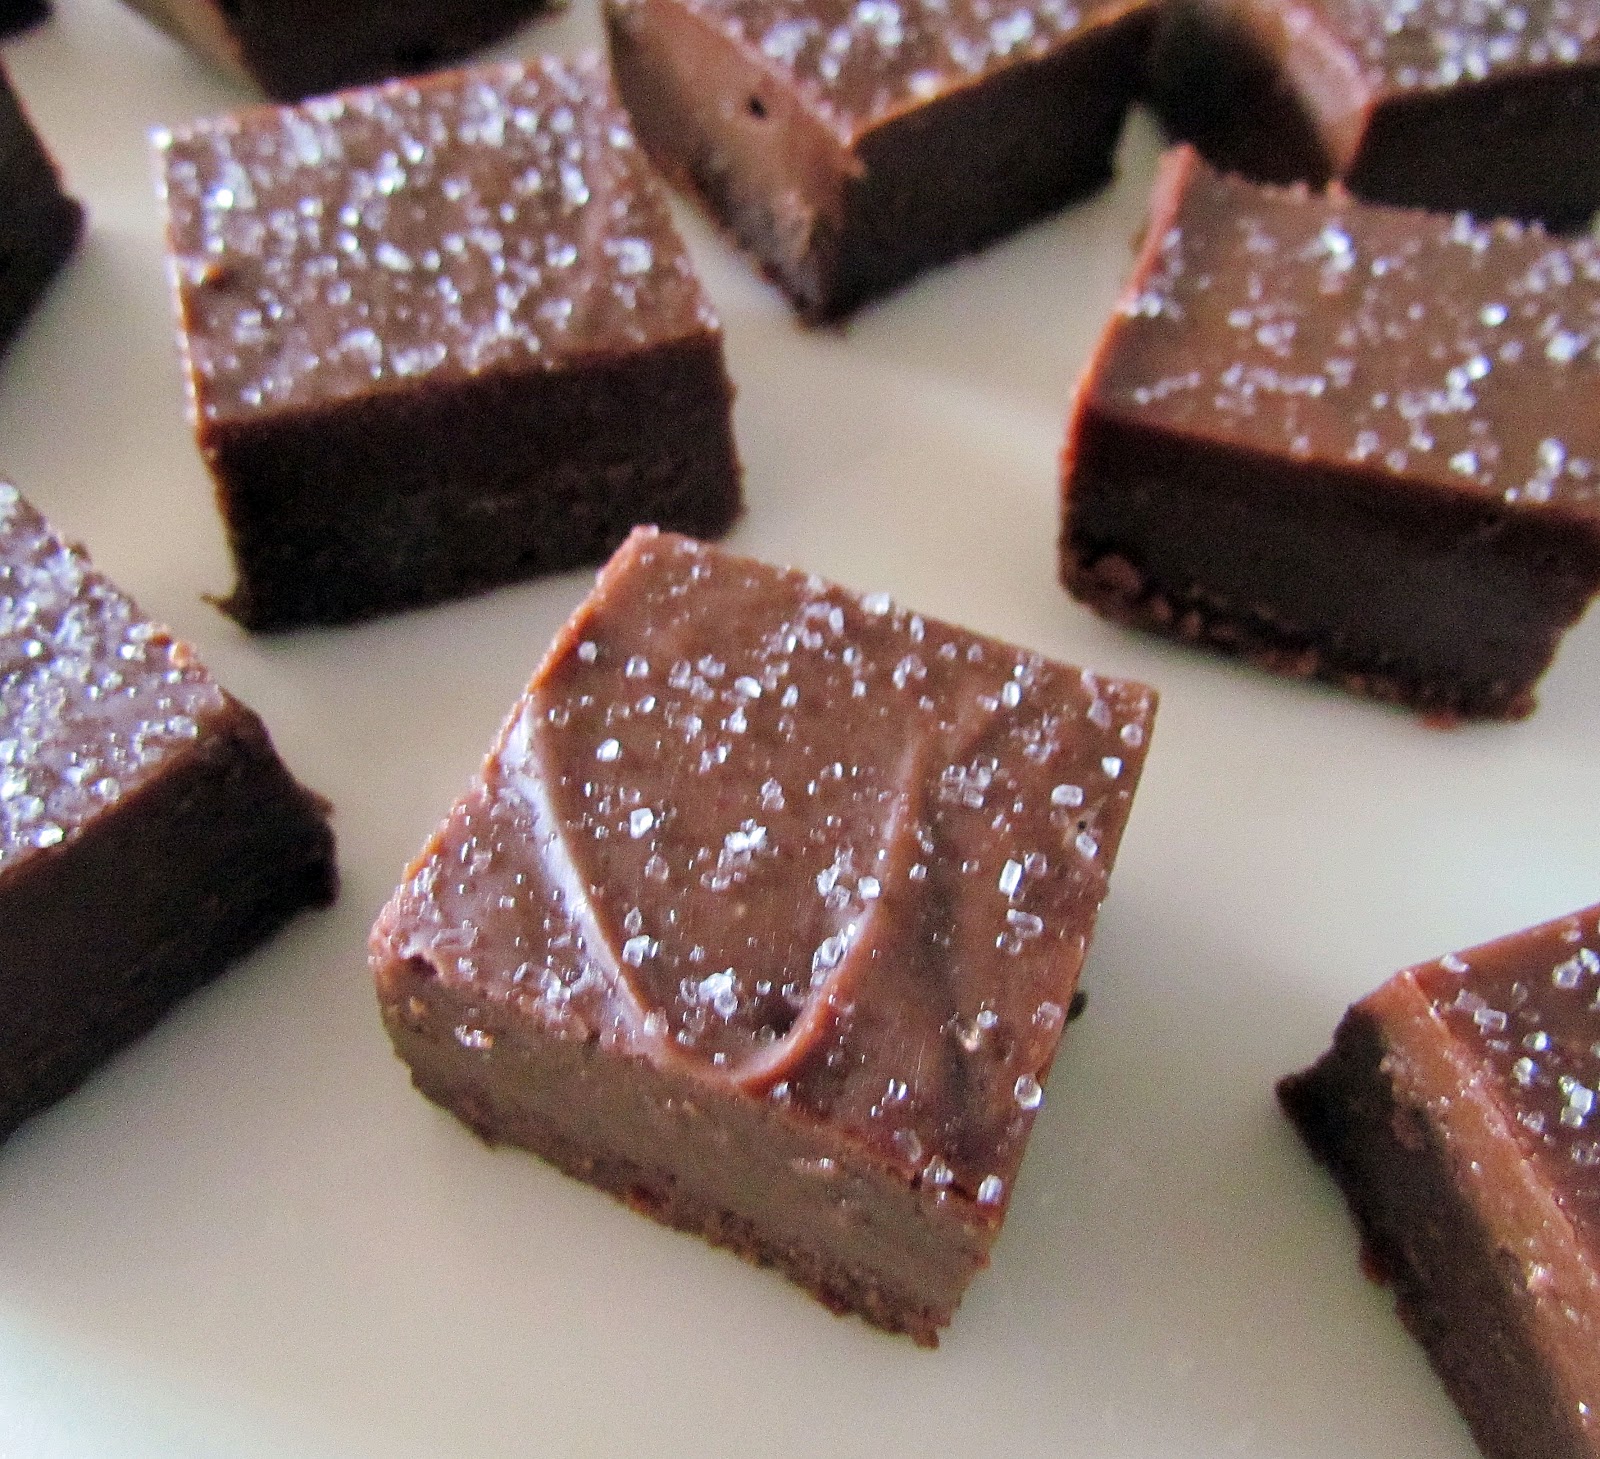
Once you pour it into your pan, wait a minute or two before sprinkling on your sea salt. I found that some of it melts if you apply it too soon, and though it still tastes great, it won't look quite as neat if all your salt melts into the chocolate.

Then into the fridge it goes for 2-3 hours, or overnight if you are want to do this the night before a party or event.


See? Parchment paper is a god-send in these situations. I like clean, straight edges on my fudge (I'm a little type-A I know) and it makes it so much easier to cut when you haven't spent the last half hour fighting to get it out of the pan.


Yum! How pretty are these? Simple, Sweet, Satisfying.

There are so many good fudge recipes out there too so don't shy away if you're not a fan of sea salt or Nutella. For some inspiration check out my Pinterest Board on Fudge, Brownies and Bars.

That's all for now my friends. I hope you are all having a wonderful week and, as always,

Happy Baking!

Nutella Fudge with Sea Salt Via CookinCanuck

1 14oz can sweetened condensed milk
1 tsp vanilla
8 oz dark chocolate (I used milk chocolate chips)
1 cup Nutella
3 tbsp butter, softened, cut into slices

sea salt, for sprinkling

1. Spray a 8x8 in pan with cooking spray, and then line the pan with parchemnt paper, being sure to leave extra hanging off the pan (to pull the fudge out later)
2. Combine all ingredients except sea salt in a deep-rimmed pan set over low/medium heat. Heat until everything melts, stirring constantly, and consistency is smooth. Remove from heat.
3. Pour into prepared pan and smooth top with spatula. Wait a minute or two and then sprinkle sea salt (as much as you like) over the top of the fudge, pressing down slightly if needed to secure the salt.
4. Place in fridge for 2-3 hours or until firm, or overnight.
5. Remove fudge from pan by grabbing parchment paper and lifting gently. Using a long sharp knife, cut fudge into small squares. Keep in airtight container in fridge.

Tuesday, July 17, 2012

Oreo Explosion Cupcakes

Hello friends,

What is it about Oreos that makes us all smile? Of course they're yummy, chocolatey (shockingly even vegan) but this little cookie manages to make my day that much better no matter how I am feeling. Example number one: The Oreo Cheesecake Cookies from last Friday. Stress + Jess = cranky mess. Stress + Jess + OREOS = no more stress. It's like magic, except if it were truly magic there would be no calories involved either. Maybe if I only eat six it won't matter...


or maybe I just won't look at the nutrional facts on the box for awhile.

Today brings about example number two in the Oreos for a Less Stressful You project. Yes, I just came up with that right now as an excuse to eat way more Oreos than is nutritionally suggested. Don't judge me; I know you're all thinking it sounds like a great idea that should be supported nationwide.


Now these aren't just any Oreo Cupcakes. These are cupcakes with:

a) half an oreo on the bottom
b) oreo chunks suspended throughout vanilla cake
c) cream cheese frosting
d) oreo crumb topping
e) all of the above


I will admit I was just a tad worried that the ratio of Oreo to Cake was too high, but then I reminded myself that there is no such thing as too many Oreos. Ever. I can feel the stress floating away already. Do you have a favorite Oreo recipe? Does it help you de-stress on those day when nothing else can? If not, find one! I promise you, nothing can ease a stressful mind like an Oreo, or more accurately a cupcake overflowing with Oreos

Happy Baking!

Oreo Explosion Cupcakes Via Annie'sEats

1/2 cup butter, softened
1 2/3 cup sugar
3 egg whites
2 tsp vanilla
2 1/4 cups flour
1 baking powder
1/2 tsp salt
1 cup milk
24 oreo halves
20 coarsely chopped oreos

1. Preheat oven to 350 degrees and line 2 cupcake pans with paper liners. Place one side of an Oreo cookie (preferably with the cream still attached) in the bottom of each liner.
2. In medium bowl sift together flour, baking powder and salt. Set aside.
3. In large bowl cream together butter and sugar until light and fluffy, then beat in egg whites, one at a time, until fully incorporated. Beat in vanilla.
4. Beat in 1/3 of the flour mixture on lowest speed until just incorporated, followed by 1/2 of the milk. Repeat, beginning and ending with the flour, beating until you reach a uniform consistency.
5. Gently fold in chopped Oreos.
6. Equally divide batter amongst cupcake lined pans and bake at 350 for 18-20 minutes, rotating the pan once during baking. Cupcakes are done when a toothpick inserted in the center comes out clean
7. Let cool in pan for 5 minutes before removing to cool completely on wire rack.

Cream Cheese Frosting

8 oz cream cheese
6 tbsp butter
1 tbsp vanilla
4 cups powdered sugar
2 tbsp heavy cream
Oreo Crumbs
1. Cream butter and cream cheese until well blended. Beat in vanilla, followed by powdered sugar.
2. Beat in heavy cream on low at first until fully incorporated then on medium/high for roughly 3-4 mintues until frosting is light and fluffy.
3. Pipe frosting onto cooled cupcakes, then sprinkle with Oreo Crumbs.

Friday, June 8, 2012

Blueberry Pie Bars

Hello friends!

Who knew that while gallavanting through Portland I would actually get a chance to bake up something myself?

Well, I did. My boyfriend, Josh, had come to me a few days before vacation to tell me that his grandmother (a master baker if I ever knew one) wanted to know if I'd like to bake something for the family while I was up there.

I, of course, said yes, not realizing just how much his family loves food. By the time it came down to it, I was convinced they were as in love food as I was (a scary thought), and baking for a whole group of foodies was now slightly intimidating. Especially after experiencing Standard Baking Company, Two Fat Cats Bakery, and of course, Josh's grandma's out-of-this-world carrot cake. Oh, and his grandpa's sticky buns. All from scratch.


But, I had my plan. I knew blueberries were a big deal up in Maine, so I had bookmarked this recipe from Kirbie's Cravings for Blueberry Pie Bars. They seemed simple enough but still able to pack a punch, and I really was (as always) in it to win it.


Oh, and I almost forgot to mention: do you see these eggs?

Now you know me; as a college student I can't afford to jump on the organic bandwagon. But when I didn't have enough eggs and mentioned this to Josh's grandmother, she said simply "oh we will see if Karen's chickens laid any today."

Yes, my friends, these eggs came from a chicken that morning. They do not joke around up here about fresh ingredients. Josh's aunt Karen owns a few, and now I had the honor of utilizing the freshest eggs I could ever possibly hope to obtain in my blueberry pie bars. I love this place.


So, into the oven it goes, and thank you Kirbie's Cravings, because the scent of this quickly filled the house and even reached the adjacent porch. Soon I had questions of "how long until it'd be done?" "Do we have ice cream to go with it?"


We served them up with a small scoop of vanilla, and I have to say I, with everyone else at the table, cleaned my plate when it came to these. A golden, crispy top with an almost custard-like texture in the center, bursting with fresh blueberry flavor - these are a crowd-pleaser if I ever knew one. They went almost too quickly in my opinion, and so I think it may be necessary to double the recipe next time I make it.

So ends my wonderful vacation in Maine. Parting was of course, such sweet sorrow, but I can only hope that I will return to the food-loving city again soon so that I may explore even more of it's deep culinary treasures.


Blueberry Pie Bars Slightly Adapted Via Kirbie's Cravings

for the crust/topping:
1 1/2 cups flour
3/4 cup sugar
1/8 tsp salt
3/4 cup cold butter

for the filling:
1 cup sugar
2 eggs
1/2 cup sour cream
3/8 cup flour
1/2 tsp vanilla extract
16 oz fresh blueberries

**Preheat oven to 350 and grease one 9x9 in pan with butter/cooking spray**

1. Make the crust/topping. Sift together flour, sugar, and salt in a medium bowl. Cut cold butter into the flour mixture. Use pastry cutter or two knives to begin mixing butter into flour mixture, then use clean hands to continue until mixture resembles coarse crumbs. Save 1 1/2 cups of the mixture for the topping and use the rest to press into a well-greased 9x9 square pan.

2. Make the filling. Whisk together sugar and eggs in medium bowl until well combined. Whisk in sour cream and vanilla extract. Fold in flour until just combined then gently fold in blueberries. Pour filling on top of crust and bake at 350 for 45-55 minutes, until it just begins to brown around the edges.
3. Serve up like a cobbler while still warm OR let cool completely to cut into bars.

Thursday, April 19, 2012

If you like Pina Coladas, and Getting Caught With Cupcakes...

Hello all,

I know, I know, its's a corny blog post title, but I honestly couldn't help singing it to myself while I was baking these cupcakes, or while eating them.


We had a little setback in the weather here in New Jersey for awhile (as if that's shocking to any of us who have lived here for our entire lives) but there's finally been a breakthrough! We hit 80s and now are headed to a balmy mid-70s range for for the rest of the week. So, with all the sun, warmth, and fresh air, I thought these pina colada cupcakes would be the perfect way to go during my month of cupcakes...and I was right.

I have eaten not one, not two...but many of these little cakes as they sat on my kitchen table, staring at me with their toasted coconut, just begging to be gobbled up before anyone notices they're gone.


After being treated to the Banana Split Cupcakes awhile back, some of my peers asked me if I could bring them a few of these to our next class. For once I actually wanted to say "there are no more" because I was thinking to myself "there won't be anymore after I get to them" but of course I said I'd be happy to.

But then, who would've thought this late in the semester I'd have such luck, my professor cancelled class today. It's a sign from God - I was meant to have all of these cupcakes to myself.


Is it going to cause a serious stomach ache? Most definitely. Do I care? Not in the slightest.

Every time I eat one I am reminded that there is roughly one WEEK left of classes for the entirety of my junior year, and I am that much closer to Summer Vacation.

I hope these send you off to a blissful summer daydream as well.

Happy Baking!


Pina Colada Cupcakes Via GloriousTreats

2 1/2 cups flour
1 1/2 tsp baking powder
1/2 tsp baking soda
1/2 tsp salt
1 3/4 cups sugar
3 eggs
1 cup vegetable oil
1 tsp vanilla
3/4 cup sour cream
1 1/2 cups crushed pineapple, drained slightly

1. Preheat oven to 350 degrees and line two 12-cup muffin pans with liners.
2. In a medium bowl sift together flour, baking powder, baking soda, and salt.
3. In a separate bowl, beat together eggs and sugar until it reaches a uniform consistency. Slowly beat in oil and vanilla.
4. Stir in sour cream and crushed pineapple until well combined.
5. Add flour mixture to wet ingredient mixture and beat until just combined.
6. Fill cupcake liners 3/4 way full and bake at 350 for 20-24 minutes, or until a toothpick comes out clean.

Coconut Frosting Barely Adapted from Baked Perfection

1/2 cup butter, softened
1 tsp vanilla extract
3 cups powdered sugar
4 tbsp coconut milk

1. Cream butter and coconut milk, then add vanilla.
2. Beat in powdered sugar, a cup at a time, until desired consistency is reached.


Monday, April 16, 2012

Nutella Filled Chocolate Cupcakes

 Hello all,

I think I've become obsessed with stuffing sweet treats with ooey gooey fillings. The Nutella-Stuffed Sugar Cookies, the Marshmallow Fluff-Filled Banana Split Cupcakes...it was only a matter of time before we had Nutella filled, Nutella Frosted, Chocolate Cupcakes.


Sigh. These made my week that much less stressful. With every bite comes an immediate relaxing sensation that everything: papers, exams and all, are going to work out fine.

I think we all need to stock up on these cupcakes.


They are really quite simple and easily adaptable to your needs. First, start out with any basic chocolate cupcake. You can whip up your favorite from-scratch recipe like I did, or even whip up a box mix. This is especially helpful for those like my nana with Celiac, who can now happily pick up gluten free cake mixes (and Nutella is gluten free!).

Once they are baked and cooled, cut out a decent-sized hole in the center of the cupcake. Proceed to filling said holes with lots of Nutella.

Are you interested yet?


I thought so. Now just whip up this amazing Salted Nutella Buttercream from MyBakingAddiction, pipe it on whichever way you please and ta-da!

Chocolatey-hazelnut perfection.


I hope these are as stress-relieving for all of you as they are for me. As I run this gauntlet otherwise known as upperclassmen college papers and exams, I know I will be sneaking one (or maybe five) of these cupcakes to keep me going!

Happy Baking!

Salted Nutella Buttercream By MyBakingAddiction 
(enough to generously frost 24 cupcakes)

1 cup (2 sticks) unsalted butter, softened
1-13oz jar Nutella
8-10 cups powdered sugar
1 tbsp vanilla extract
1/4-1/2 cup milk

1. Place butter and nutella in large bowl and beat until well incorporated.
2. Add powdered sugar, a few cups at a time, and beat until stiff frosting comes together.
3. Add vanilla extract, salt, and tablespoonfuls of milk until desired consistency is reached.

Monday, April 9, 2012

Banana Split Cupcakes

 Hello all,

So did any of you guess what this post would be about from my hint last week?


Well if you guessed Banana Split you get an A+ in my book. 'Banana Split' you may wonder 'how on earth do you turn an ice cream sundae into a cupcake?' My friends, it was hard for me to believe too, at first, but it's been done in the most perfect way by ConfessionsofaCookbookQueen and I am so delighted to share it with you here.


Step 1 - Take a French Vanilla Cake Mix and turn it into a delicious, soft, moist Banana Cake. Then proceed to cut a decent sized hole in the center of the cupcake and fill it with, would you believe it, Marshmallow Fluff.


As if this wasn't enough to make you drool, Step 3 is whipping up some decadent homemade Strawberry Buttercream and piping a unhealthy sized amount on top to hide the fluff and all it's marshmallowy goodness from unsuspecting taste-testers.

Now here's where I deviated. She suggested using Chocolate Sauce (like Hershey's chocolate syrup for example) but for me, I planned on having these around for more than a few days and needed a chocolate topping that was a little more sustainable and a little less "it's going to drip all over the kitchen table all week". So I opted to melt chocolate chips and drizzle it on top of the Buttercream instead. Add a dash of sprinkles and a cherry and voila!


Banana Split Cupcakes. I can't even express in words how amazing this cupcake is. It could very well be my most favorite miniature-sized dessert ever in existence. Though I do have an unhealthy obsession with cake pops...see now if we could turn this into a cake pop THEN we'd be getting somewhere.

And honestly, it's not that overwhelming to create yourself. It's a little more time consuming than other cupcakes, but just in that there are many steps to go through. The fact that she doctors a cake mix will save you tons of time (and less mess!).

Plus, if you're like me and need a distraction every now and then, just do these cupcakes in steps throughout your afternoon. I baked the cupcakes, then let them cool while I read half of one novel for class; then I'd frost them and read the other half of the novel, etc.

See? Procrastination can be turned into progress with the help of cupcakes!


Happy Procrastinating Baking!

Banana Split Cupcakes Via ConfessionsofaCookbookQueen

1 box French Vanilla Cake Mix
1/2 cup butter (1 stick) melted
4 eggs
3/4 cup water
2 medium ripe bananas, mashed

1 jar (7oz) marshmallow fluff

1. Preheat oven to 350 degrees and line 2-12 cup muffin pans with liners.
2. In a large bowl combine cake mix, eggs, water, bananas, and melted butter. Beat with a hand mixer on low for one minute, then on medium/high for another 2 minutes.
3. Fill cupcake liners 2/3 full (I always use a 1/4 cup measuring cup for a guide) and bake at 350 for 12-16 minutes or until cupcakes spring back lightly when touched. Let cool completely before frosting.

4. Once cool, cut a small hole in the center of each cupcake and fill with marshmallow fluff. (I suggest placing the fluff in a large plastic bag, snipping off an end and piping into said holes).

For the Strawberry Buttercream:

1 cup sliced strawberries, pureed
1 cup butter (or shortening)
5-6 cups powdered sugar

1. Beat butter and sliced strawberries together until well combined. Beat in powdered sugar, one cup at a time, until desired consistency is reached.

Assembling the Cupcakes:

1. Pipe Strawberry Buttercream onto the cupcakes, covering the marshmallow fluff center completely.
2. Use chocolate syrup OR melted chocolate chips to pipe the "hot fudge" onto the cupcake. Quickly add rainbow sprinkles and cherry on top.

Friday, April 6, 2012

Easter Nest Cupcakes

Hello all,


Did I ever mention I love Easter? I believe much of my enormous sweet tooth is owing to the awesome Easter Baskets the "bunny" left for my brother and me each year. Unfortunately the bunny no longer stops at my place, so I've had to make due with buying extraordinary amounts of Peeps and scarfing down these carrot cake cupcakes.

Easter = Bunny = Bunnies love carrots = Jess loves carrot cake = carrot cake cupcakes for Easter.

Plus I was so inspired by ParisPastry's Easter Nest Cupcakes that I just had to try it out for myself. I picked up these at Wal Mart the other day:


and got straight to work. Not bad if I do say so myself. :D


A breath of relief as I dig into one and it's absolutely heavenly; no need to relive the disappointment of the Chai Cupcake. 


And in case carrot cake isn't your favorite, here are a few links for some adorable Easter Sweet Treats I've stumbled upon that could be show-stoppers in case you're in charge of dessert this Sunday:

1. Easter Bunny Cake Pops by Bakerella
2. Chick Cupcakes by BirdonaCake
3. PeepCakes by 52 Kitchen Adventures
4. Basket Cupcakes by Dinners, Dishes and Desserts
5. Egg Hunt Cupcakes by InKatrinasKitchen
6. Easter Nest Sugar Cookies by PenniesonaPlatter
7. Coconut Macaroon Nest Cookies by PreparedPantry
8. Easter Bunny Macarons by raspberricupcakes
9. Ultimate Easter Crispy Treats by DoughPuncher
10. Easter Bunny Push Pops by Hungry Happenings

I hope one of these links comes in handy for you in preparation of the holiday - or if you just need another excuse to bake like I do.

Pssst - I have a secret to tell you! 
The next cupcakes coming up are going to be a smash hit!

Would you like a hint? Bananas + Strawberries + Chocolate = ?

Happy Baking!


Carrot Cake Cupcakes Via Yours Truly

1 cup flour
2 cups shredded carrots
1 cup sugar
1 tsp baking soda
1 tsp cinnamon
2 eggs
3/4 cup vegetable oil

1. Preheat oven to 350 degrees and line one 12-cup muffin pan with cupcake liners.
2. In a bowl sift together flour, baking soda and cinnamon. In a separate bowl beat sugar and oil until well combined. Beat in eggs, one at a time, then beat in vanilla.
3. Stir carrots into wet ingredient mixture, then gently fold in dry ingredient mixture.
4. Fill cupcake liners 2/3 way full (I use a 1/4 cup measuring cup) and bake at 350 for 15-20 minutes or until a toothpick comes out clean
5. Frost with vanilla or cream cheese frosting and enjoy!

Wednesday, April 4, 2012

Cupcake Challenge Day 2: Vanilla Chai

Hello friends,

So remember when I mentioned that this month would be a cupcake "challenge"? I originally employed that word because it was exciting and fun, but apparently I was quite accurate with the literal meaning of "challenge"....

Cupcakes are supposed to be stress-free, at least in my opinion they are.

Yet, as I type that I realize I spent 9 hours one day last April making over 1000 cupcakes with the baking club, and in reality that was one of the most stressful experiences ever. I must have missed the memo: cupcakes are now "challenging". Be warned.

I learned this yesterday as I attempted to bake up Vanilla Chai Cupcakes. I followed this recipe to a T but sadly, in the words of my favorite European judge Florian on Cupcake Wars: "this cupcake, it did not work for me."

The recipe said to only fill the liners with 2 tablespoons of batter. So first batch naturally came out like so:


Why did I think it was going to rise more? Who knows. So the next batch I filled it with 1/4 cup, my default when filling cupcake liners. Did they rise more? Yes, of course. Were they any better?

Sadly, no. Unfortunately it just tasted like a lot of ginger, and the consistency was chewy, sticky, and overall disappointing. It's worth trying again (I am a big fan of Bakingdom - anybody who shows me how to make homemade butterbeer definitely deserves another shot in my kitchen). But I have the sinking feeling that these will not be fought over at my workplace as in precious times...


Well, I didnt want to show you these, perfectionist that I am, but this IS about the experience, and not all of them can be as stellar as I'd like them to be. Challenge doesn't always mean success.


I know I usually include the recipe here, but I linked it above and instead I thought I'd share with you all a few links that I find really helpful when baking up cupcakes:

1. Missing an ingredient? Check out Diana's Desserts "Ingredient Substitutions" page for a whole slew of ideas on how to substitute ingredients for items you may already have in your pantry. After stumbling upon this site I never bought store-bought buttermilk again.

2. Basic Cupcake Tips from SomewhatSimple. She has a great list of tips for cupcake baking in general, including how to fill you piping bag, how long to bake cupcakes for, and what kind of liners to use with which kinds of cake.

3.  Basic Royal Icing Recipe from Sweetopia. This is an adorable illustration of how to make Royal Icing. Informative, quirky, and cute, it's a great printout to keep in your recipe book (or to repin onto one of your Pinterest Boards!)

That's all for now. I have (hopefully) something cute in the works for Easter later this week, so check back later for more cupcake concoctions and sweet tips.

Happy Baking!